
Overview
Working with video in your workflow often requires importing existing footage, pulling specific frames for reference, and blending clips together seamlessly. The Video, Extract Frame, and Transition nodes work together to manage and connect your video assets.
Video Node
The simple Video node is your starting point for introducing existing video files into a workflow.
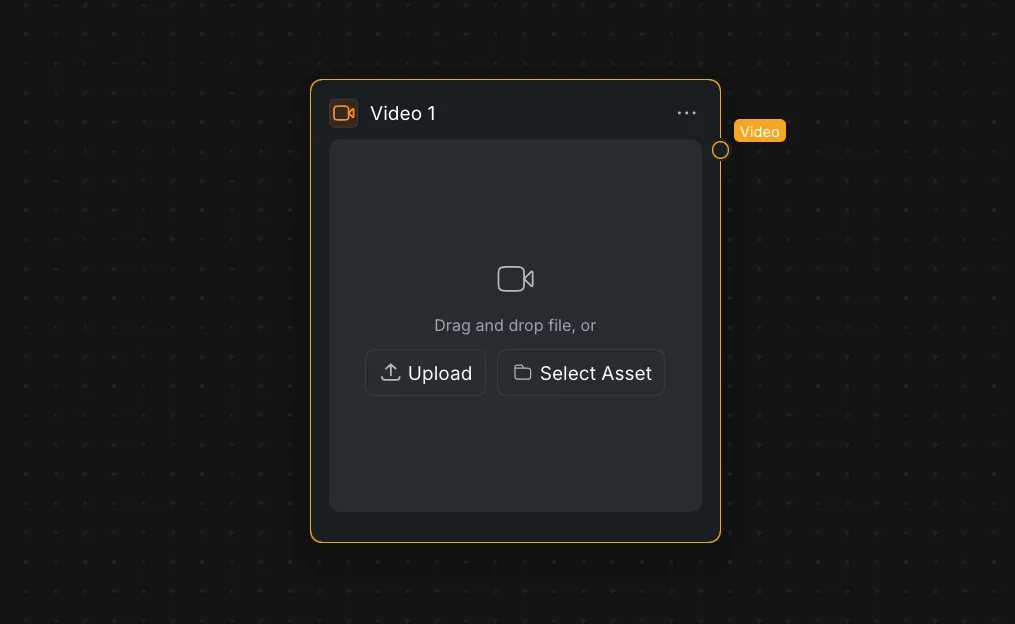
- Importing: You can drag and drop a file directly into the Node Panel, click "Upload" to browse your computer, or click "Select Asset" to choose a file already in your CawCut library.
- Output: Once loaded, the asset is passed downstream via the "Video" output port.
Extract Frame Node
The Extract Frame node acts as a bridge between video and image processes. It is particularly useful for setting up seamless transitions.
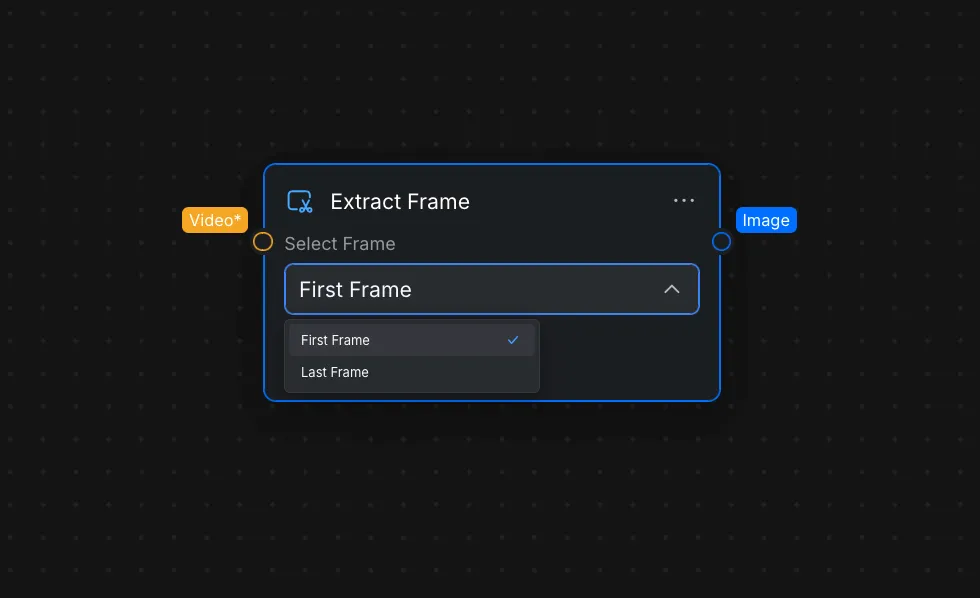
- Inputs and Outputs: It requires a "Video*" input connection and outputs a static "Image" on the Node Panel.
- Selection: Using the "Select Frame" dropdown menu in the Node Settings, you can choose to extract either the "First Frame" or the "Last Frame" of the connected video clip.
Transition Node
The Transition node allows you to add dynamic AI-generated effects between clips. By combining this with the Extract Frame node, you can feed the last frame of your first clip and the first frame of your second clip into the Transition node to create a seamless bridge.
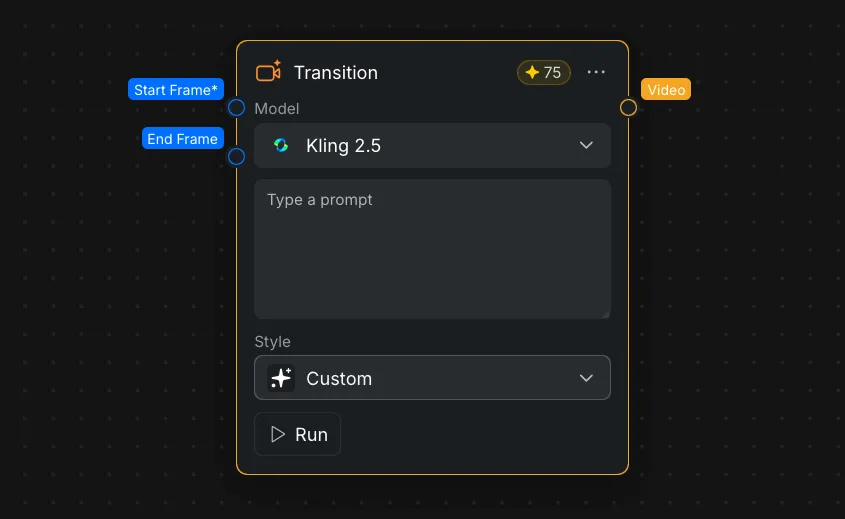
- Inputs and Outputs: The Node Panel requires a "Start Frame*" input and accepts an optional "End Frame" input, outputting the final sequence through the "Video" port.
- Model and Prompt: In the Node Settings, you can select a generation model, such as "Kling 2.5", and type a custom text prompt to guide the transition behavior.
- Transition Styles: The "Style" dropdown in the Node Settings offers a wide array of predefined visual effects, including: Custom, Zoom In, Zoom Out, Push, Pull, Fly Through, 3D Orbit, Smart Move, Style Morph, Money Veil, Slide Left, Slide Right, Confetti, Gold Confetti, Rise, Dive, and Smoke Drift.