
After you create a workflow and connect its nodes, you can share it with other people or transfer it as a CawCut Workflow file (.ccwf).
1. Share a Workflow Link
You can share a workflow by copying its link or inviting specific people by email.
1. Open the workflow, click [Share] in the top-right corner, then select [Share Link].
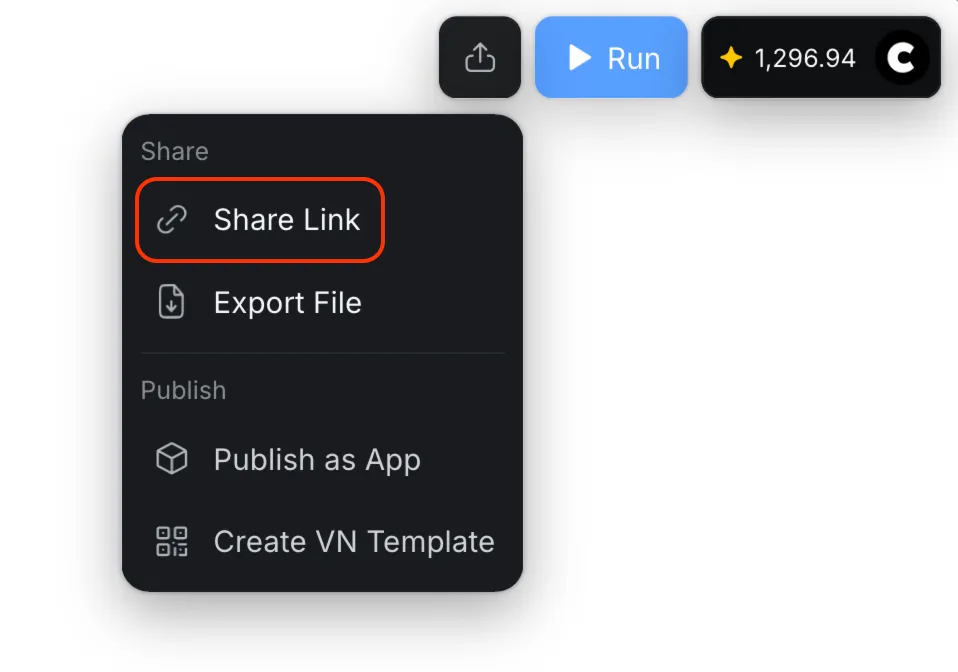
1.1 Choose Who Can Open the Workflow
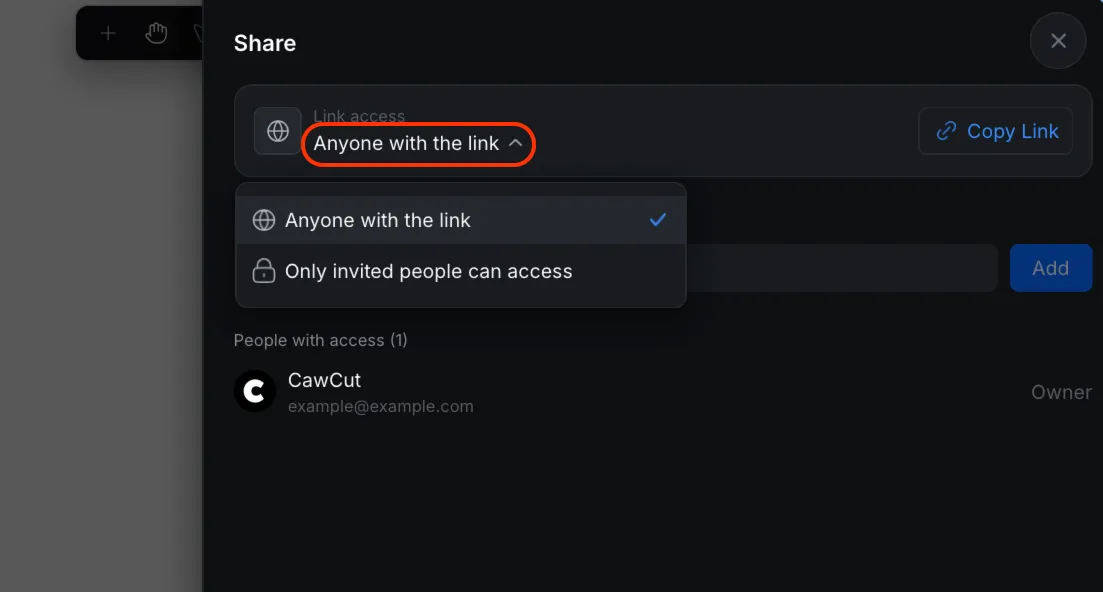
Under [Link access], choose who can open the workflow:
- "Anyone with the link": Anyone who receives the shared URL can open the workflow.
- "Only invited people can access": Only people you invite by email can open the workflow.
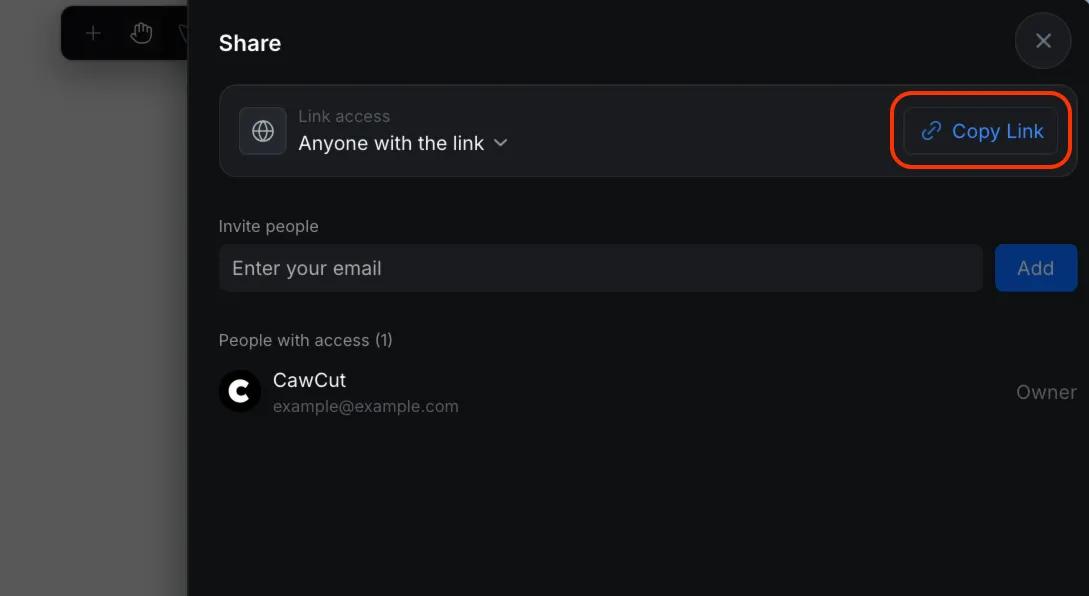
1.2 Copy the Workflow Link
Click [Copy Link], then send the copied link to the people you want to share the workflow with. Their access still follows the option selected under [Link access].
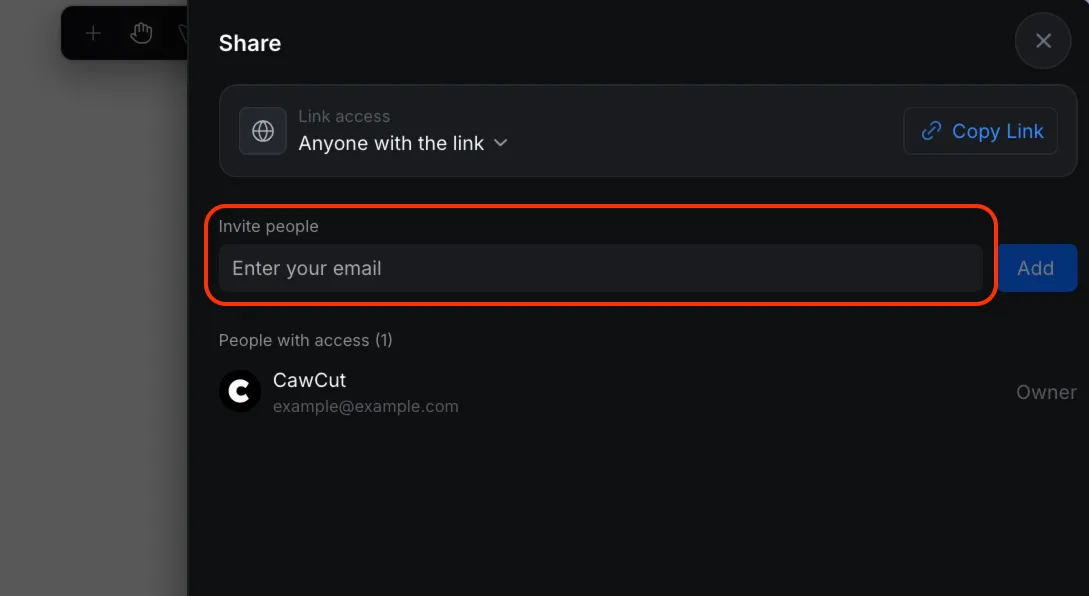
1.3 Invite People by Email
Enter the person’s email address under [Invite people], then click [Add]. Use this option when you want to give access to specific people.
2. Import a Workflow
1. From the [Home] page, open [Create New], then select [Import Workflow File].
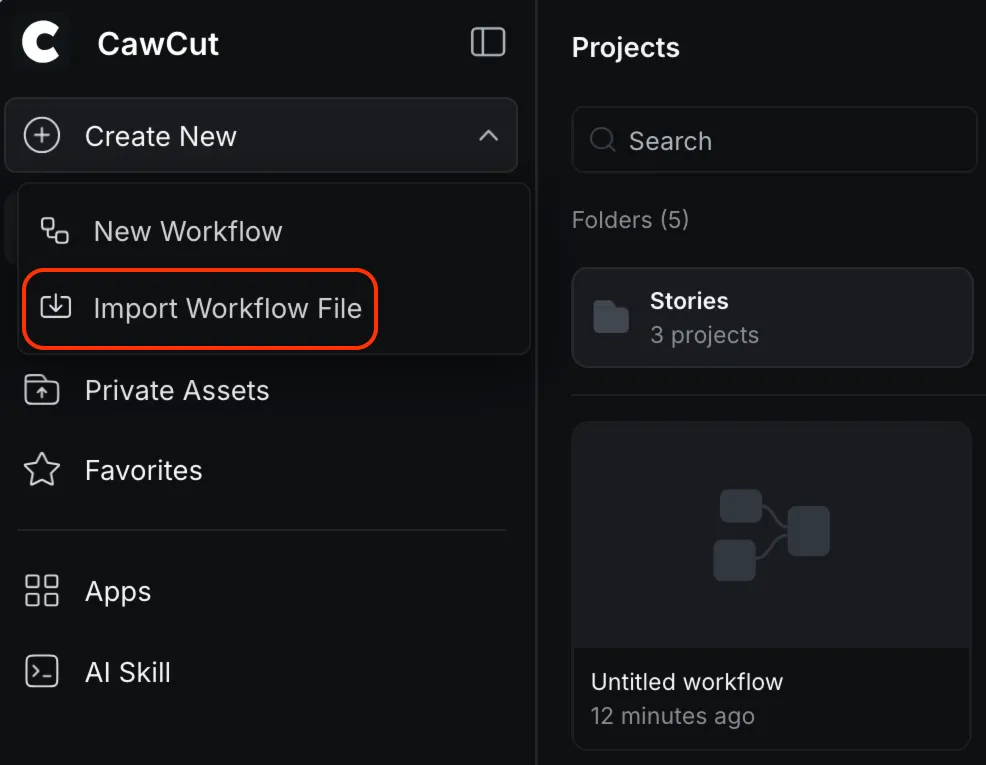
2. Select the CawCut Workflow file (.ccwf) from your device. CawCut imports it into your projects.
3. Open the imported workflow and review its nodes, connections, source inputs, and selected models before running it. Some source files or models may need to be replaced if they are not available to you.
3. Export a Workflow
1. Open the workflow you want to export.
2. Click [Share] in the top-right corner, then select [Export File].
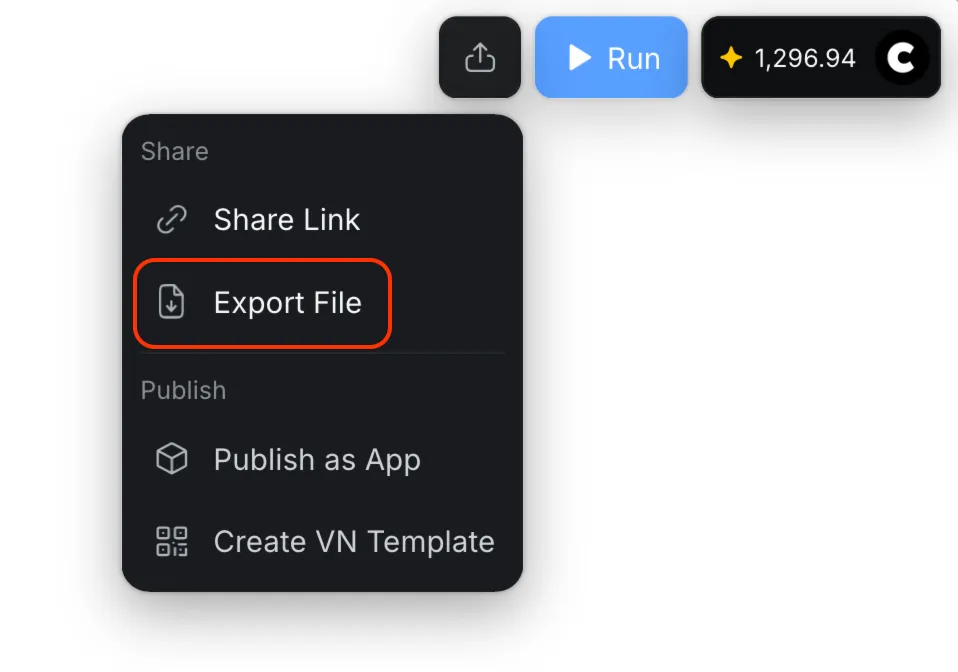
3. Wait while CawCut generates the workflow file (.ccwf), then save it in a secure location on your device.
Export a workflow when you want to create a backup or transfer its structure. If the workflow depends on uploaded source files, confirm that the recipient has the files needed to run it.