
Use the Video, Extract Frame, and Transition nodes together to bring existing clips into a workflow, turn selected video frames into images, and generate a new video that connects two visual moments.
1. Video Node
The Video node adds an existing video to the canvas so other nodes can use it in the workflow.
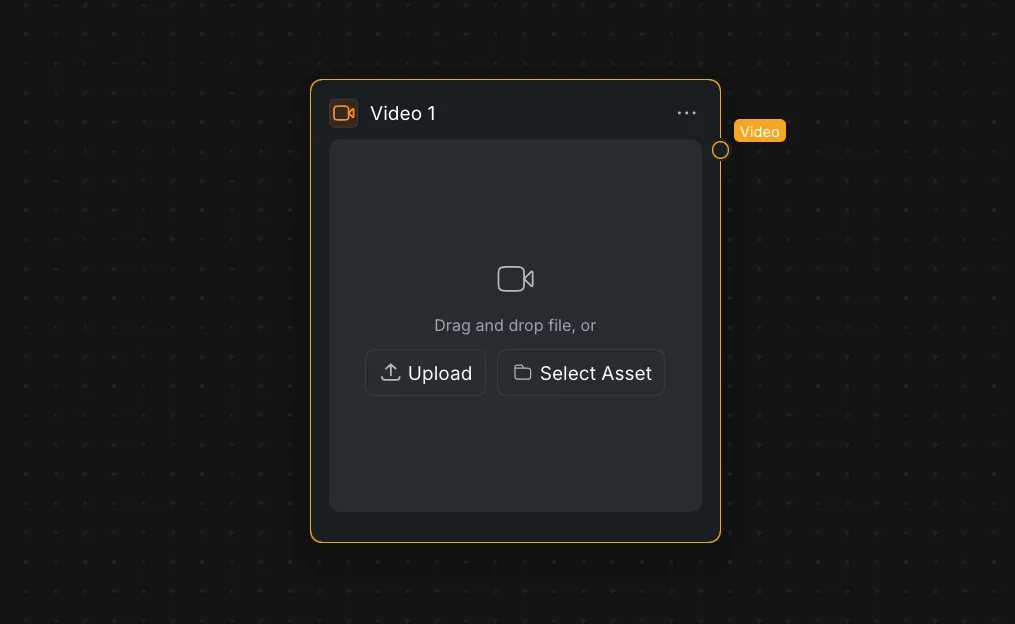
1.1 Add a Video
Add a video by using either of these options:
- Drag and drop a local video into the Node Panel.
- Click [Upload] to select a video from your device.
- Click [Select Asset] to choose a video that is already available in CawCut.
1.2 Inputs and Output
| Port | Required | What it does |
|---|---|---|
| Input | — | The Video node does not require a connected input. |
| Video | — | Sends the selected video to the next connected node. |
2. Extract Frame Node
The Extract Frame node converts the first or last frame of a connected video into a still image. This is useful when a later node needs an image reference, especially when creating a transition between two clips.
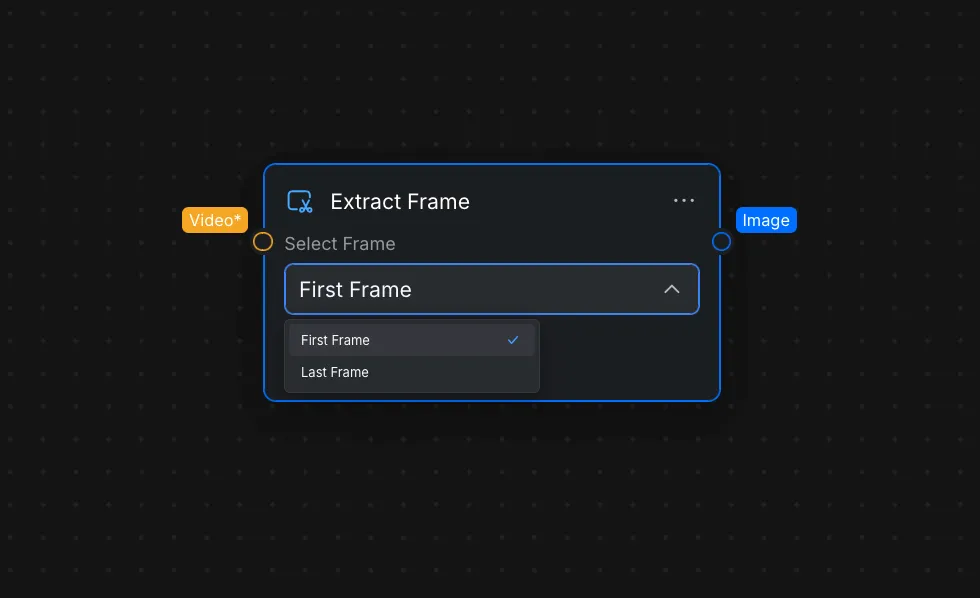
2.1 Select a Frame
Open [Select Frame] in the Node Settings and choose one of the following options:
| Option | Result |
|---|---|
| [First Frame] | Outputs the opening frame of the connected video. |
| [Last Frame] | Outputs the closing frame of the connected video. |
2.2 Input and Output
| Port | Required | What it does |
|---|---|---|
| Video | Yes | Receives the source video. |
| Image | — | Outputs the selected frame as a still image. |
3. Transition Node
The Transition node generates a video from a required start frame and an optional end frame. Connect frames from two clips to create a visual bridge between them, or use only a start frame to animate a single image.
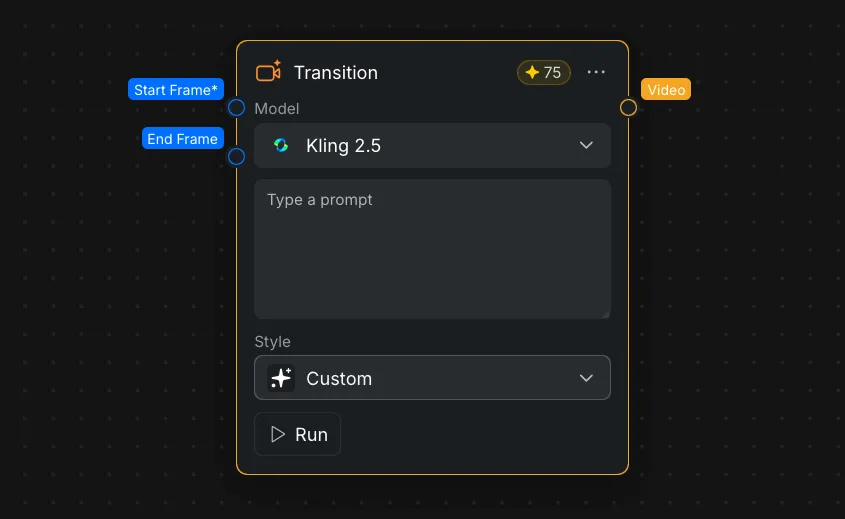
3.1 Inputs and Output
| Port | Required | What it does |
|---|---|---|
| Start Frame | Yes | Sets the first frame of the generated transition. |
| End Frame | No | Sets the final frame that the transition should reach. |
| Video | — | Outputs the generated transition video. |
3.2 Transition Settings
| Setting | What it does |
|---|---|
| [Model] | Selects the model used to generate the transition. Available settings can vary by model. |
| [Prompt] | Describes the subject movement, camera movement, or visual change to generate. |
| [Style] | Applies a preset transition behavior, or lets you use a custom prompt. |
Available styles include [Custom], [Zoom In], [Zoom Out], [Push], [Pull], [Fly Through], [3D Orbit], [Smart Move], [Style Morph], [Money Veil], [Slide Left], [Slide Right], [Confetti], [Gold Confetti], [Rise], [Dive], and [Smoke Drift].
For details about video models and their supported generation settings, see Video Generation.
3.3 Create a Transition Between Two Clips
- Add both clips to the canvas with separate Video nodes.
- Connect the first Video node to an Extract Frame node and select [Last Frame].
- Connect the second Video node to another Extract Frame node and select [First Frame].
- Connect the last frame of the first clip to Start Frame on the Transition node.
- Connect the first frame of the second clip to End Frame.
- Select a model and style, then enter a prompt when additional direction is needed.
- Run the Transition node to generate the video between the two clips.
For more information about connecting and running nodes, see Understanding Nodes.