
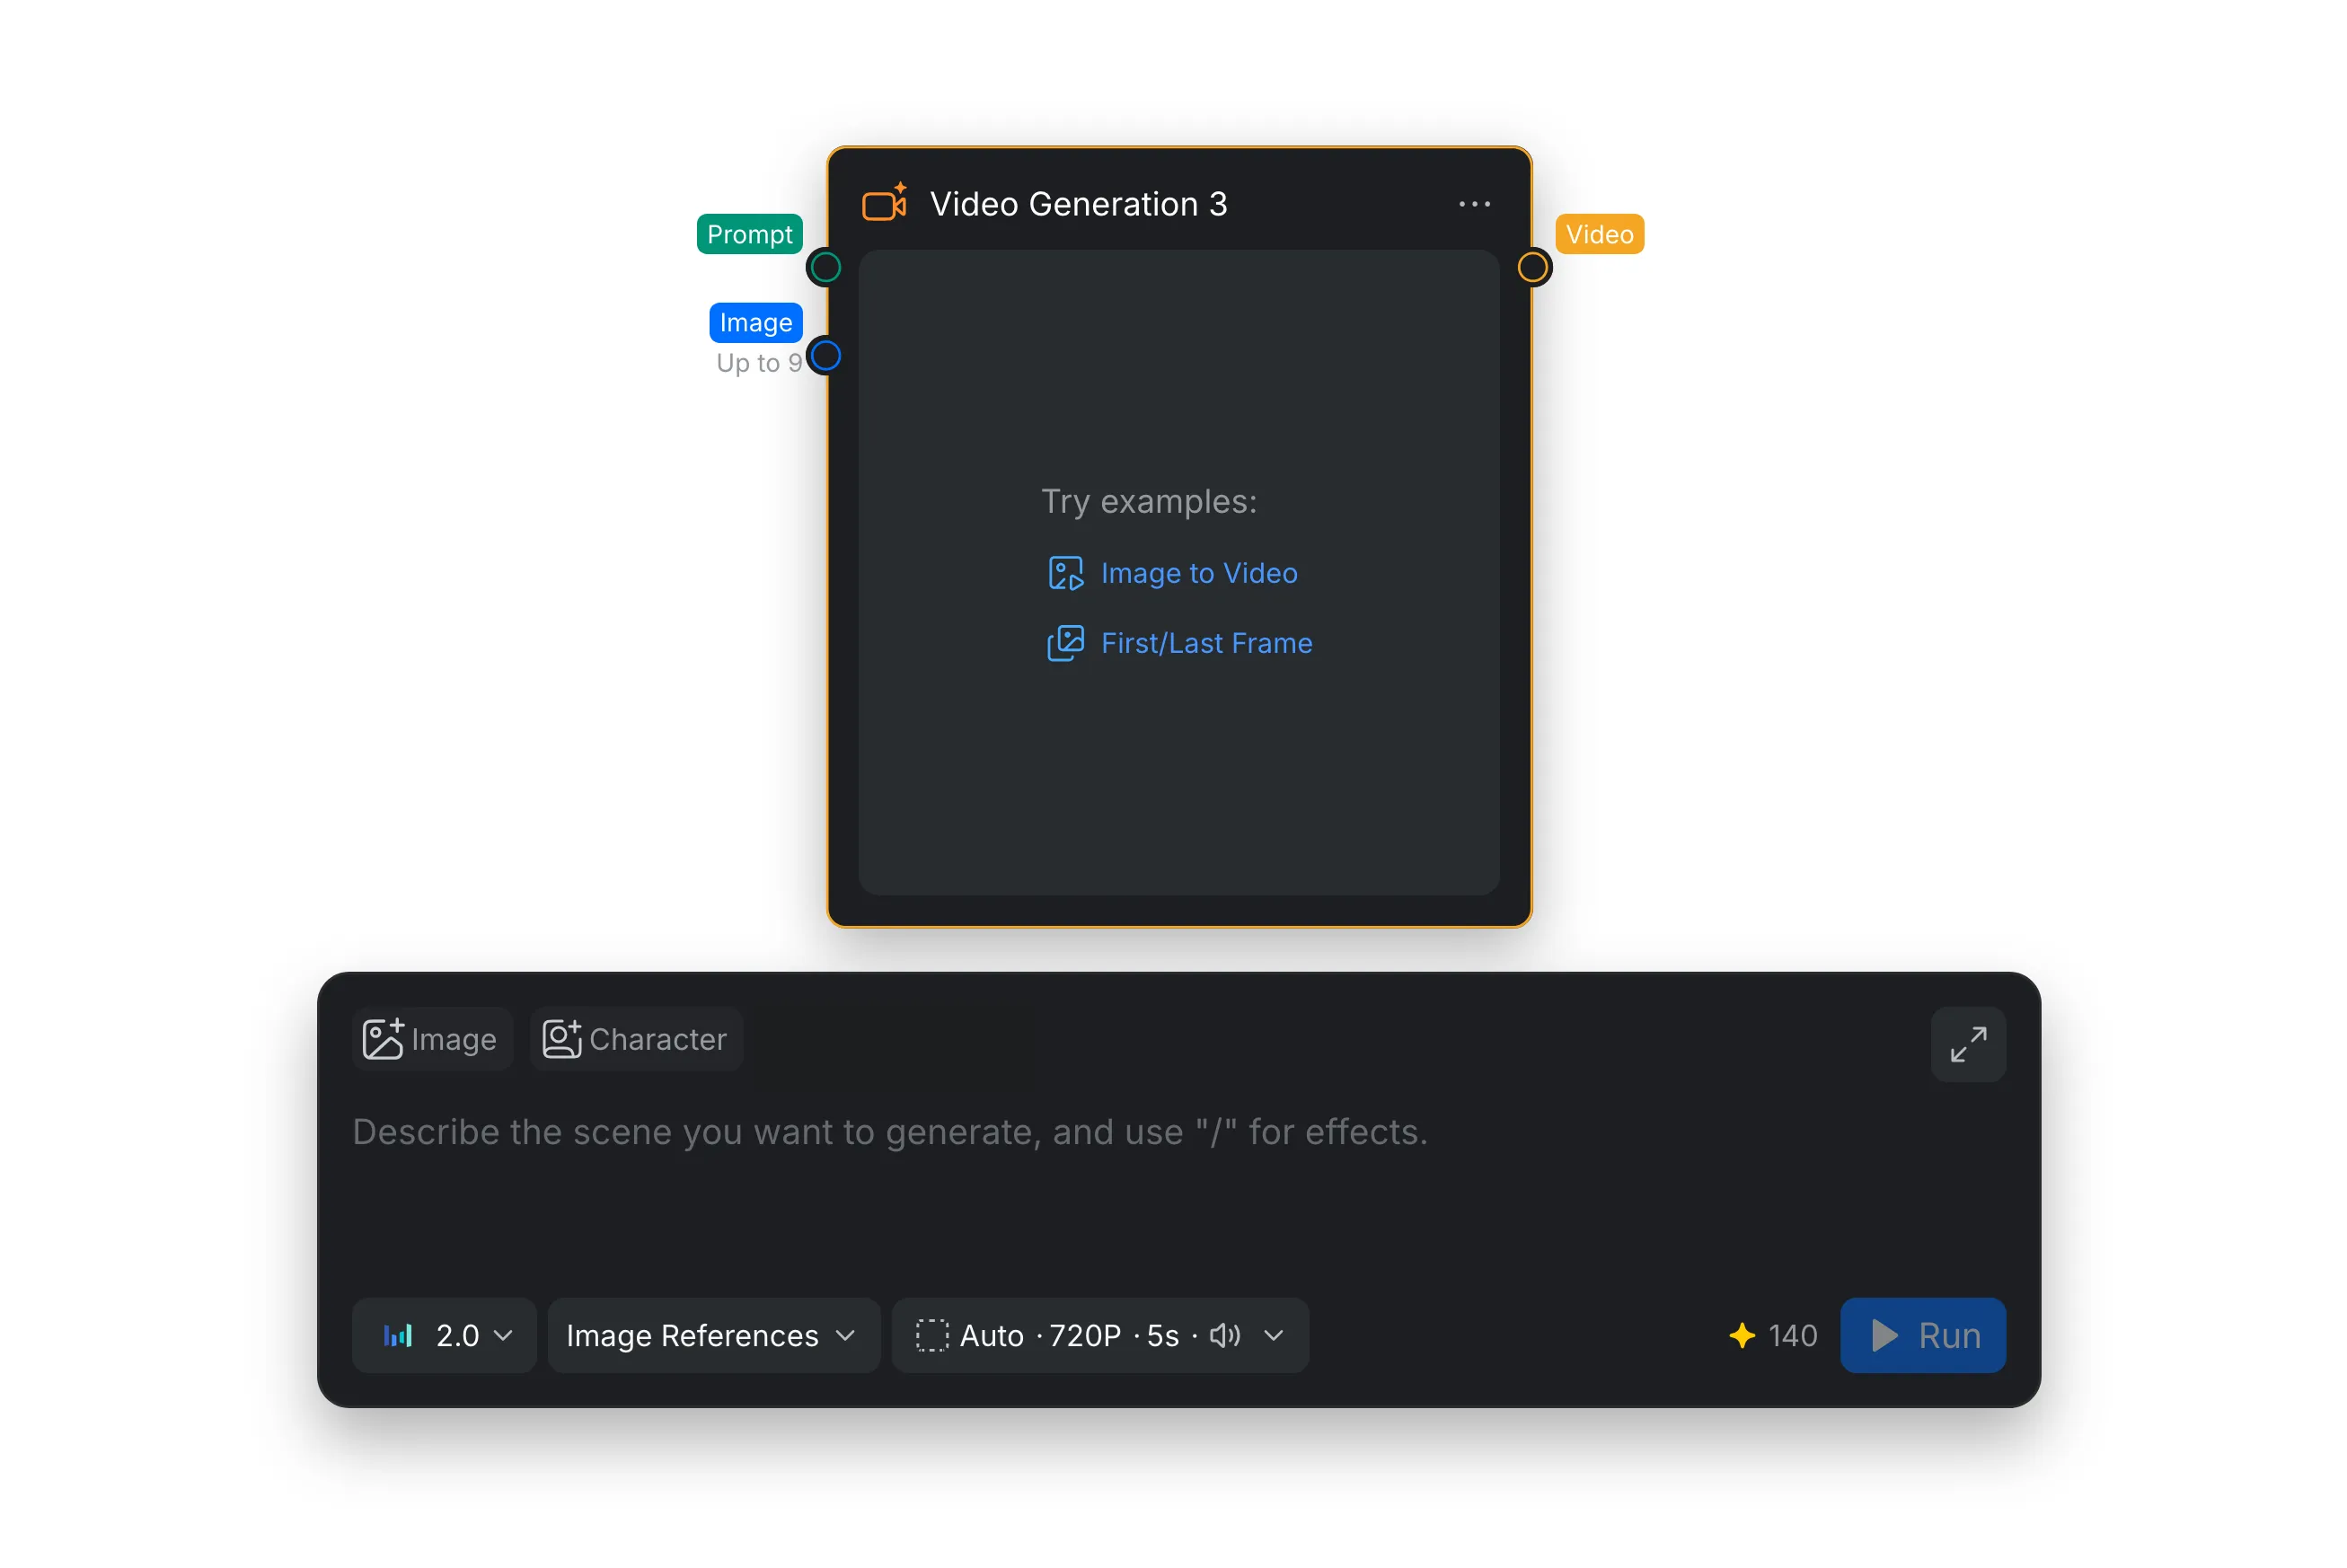
The Video Generation node creates video clips from a prompt and optional media references. Choose a generation mode from the mode menu in the prompt composer, select a compatible model, and configure the output from the settings menu. The completed video is passed to the Video output port so it can be connected to other nodes in the workflow.
1. Generation Modes
Choose a mode from the menu beside the model selector in the prompt composer. The composer shows quick-add buttons for the media types available in that mode. The model menu also changes to show models supported by the selected mode.
1.1 Text
Choose [Text] when you want to create a complete scene from a written description without supplying a visual reference.
- Prompt: Describe the scene in the prompt composer. You can enter the prompt directly or connect a Text node to the Prompt port.
- Best for: Exploring new concepts, establishing shots, stylized scenes, and clips whose composition can be described entirely with text.
1.2 Image References
Choose [Image References] to animate a still image or guide the generated clip with visual references. Use the [Image] and [Character] quick-add buttons when available, or connect references to the node.
- Prompt: Describe the subject’s movement, camera movement, scene changes, and details that should remain consistent.
- Image references: Add images or character references with the quick-add buttons, or connect them to the node. The number of references depends on the selected model.
- Best for: Animating artwork or product images, preserving a subject’s appearance, and adding controlled motion to an existing composition.
1.3 Frames
Choose [Frames] when the clip must begin from a specific image and optionally finish on another image.
- First frame: Add the required starting image to define the opening composition.
- Last frame: Add an optional ending image to guide where the movement, camera, or transition should finish.
- Prompt: Describe how the subject and camera should move between the supplied frames.
- Best for: Planned transitions, before-and-after shots, controlled camera moves, and sequences that must arrive at a defined final composition.
1.4 Omni References
Choose [Omni References] to combine several media types in one multimodal request. Use the [Image], [Character], [Video], and [Audio] quick-add buttons when available, or connect references to the node.
- Prompt: Explain how the connected references should influence the generated result.
- Image and character references: Add images as subject, character, style, or composition references.
- Video references: Add videos as motion, performance, or scene references.
- Audio references: Add audio files to guide timing, rhythm, speech, or sound.
- Best for: Reference-rich scenes that need coordinated visuals, movement, timing, and audio.
1.5 Motion Transfer and Object Swap
Use [Motion Transfer] to carry movement and camera work from a source video into a new scene. Add a source video and at least one required image reference, then describe the scene you want to generate. Genjutsu supports up to eight reference images; Kling 3.0 Pro and Standard support one. With Kling, use source footage where a person and face are clearly visible; a person who appears too far away or small may cause generation to fail. Motion Transfer is available with Genjutsu, Kling 3.0 Pro, and Kling 3.0 Standard.
Use [Object Swap] to replace an object or subject in a source video while keeping the rest of the shot as consistent as possible. Add the video, include image references to guide the replacement when needed, and describe what should change. Object Swap uses Genjutsu.
- Best for: Reusing a performance or camera move with a different subject or setting, or changing a product, prop, outfit, or character without rebuilding the entire shot. For setup steps and tips, see Motion Transfer and Object Swap.
2. Node Settings
The controls in the composer determine how the video is generated. Available values can change when you switch models or modes because each model supports different inputs and output options.
2.1 Choose a Model
Select the model menu to choose a generation engine. The models available depend on the selected mode. The menu groups models by provider; check the menu in CawCut for the current availability.
| Provider | Models shown in the menu |
|---|---|
| ByteDance | Seedance 2.5, Seedance 2.0, Seedance 2.0 Fast, Seedance 2.0 Mini |
| MiniMax | H3 Max, H3 Max Turbo, H3, Hailuo 2.3 (availability varies by mode) |
| Gemini Omni Flash 1.1, Veo 3.1, Veo 3.1 Fast (availability varies by mode) | |
| Kuaishou | Kling 3.0 Pro, Kling 3.0 Standard, Kling 3.0 Turbo Pro, Kling 3.0 Turbo Standard, Kling 2.5 Turbo (availability varies by mode) |
| Higgsfield | Genjutsu (Motion Transfer and Object Swap only) |
2.2 Model Availability by Generation Mode
| Model | Text | Image References | Frames | Omni References | Motion Transfer | Object Swap |
|---|---|---|---|---|---|---|
| Seedance 2.5, Seedance 2.0, Seedance 2.0 Fast, Seedance 2.0 Mini | ✓ | ✓ | ✓ | ✓ | ✗ | ✗ |
| H3 Max | ✓ | ✓ | ✓ | ✓ | ✗ | ✗ |
| H3 Max Turbo | ✓ | ✗ | ✓ | ✗ | ✗ | ✗ |
| H3 | ✓ | ✓ | ✓ | ✓ | ✗ | ✗ |
| Hailuo 2.3 | ✓ | ✗ | ✗ | ✗ | ✗ | ✗ |
| Gemini Omni Flash 1.1 | ✓ | ✓ | ✗ | ✓ | ✗ | ✗ |
| Veo 3.1, Veo 3.1 Fast | ✓ | ✓ | ✗ | ✗ | ✗ | ✗ |
| Kling 3.0 Pro, Kling 3.0 Standard | ✓ | ✓ | ✓ | ✗ | ✓ | ✗ |
| Kling 3.0 Turbo Pro, Kling 3.0 Turbo Standard | ✓ | ✓ | ✗ | ✗ | ✗ | ✗ |
| Kling 2.5 Turbo | ✓ | ✗ | ✗ | ✗ | ✗ | ✗ |
| Higgsfield Genjutsu | ✗ | ✗ | ✗ | ✗ | ✓ | ✓ |
The table reflects the models visible in the provided interface screenshots. Model availability can change. Select the mode first and use the model menu in CawCut as the current source of truth.
2.3 Output Settings
Open the output settings menu beside the mode selector to configure the video. Its compact summary shows the current ratio, resolution, duration, and audio setting. Available values can depend on the selected model and mode.
| Setting | What it does | How to use it |
|---|---|---|
| Duration | Sets the length of the generated clip. | Drag the slider or choose the duration field to set an available length. Longer videos generally require more generation time and credits. |
| Ratio | Sets the video’s frame shape. | Choose [Auto], [16:9], [9:16], [1:1], [21:9], [4:3], or [3:4] when available. |
| Resolution | Sets the output dimensions and level of visible detail. | Choose [480P], [720P], or [1080P] when supported. |
| Generate Audio | Controls whether the model creates an accompanying audio track. | Choose [On] or [Off] when available. |
| Seed | Sets the random starting value used for the generation. | Enter a seed or use the refresh control to explore a new result. Reusing the same inputs and seed can produce a more similar variation. |
| Credit estimate | Shows the estimated credits for the next generation. | Review the number beside the credit icon. It updates when you change the model or output settings. |
| Run | Starts the video generation with the current inputs and settings. | Check the prompt, references, and credit estimate, then click [Run]. |