
The Text to Speech node uses AI to turn written text into an audio file. Enter the words you want spoken, choose a voice, and run the node to generate speech for your workflow.
1. Add Text to Speech
The Text to Speech node generates spoken audio from text you enter or connect to it. Open the add node menu and select [Text to Speech] from the Audio category to add it to the canvas. You can open the menu from the canvas toolbar or by right-clicking an empty area of the canvas.
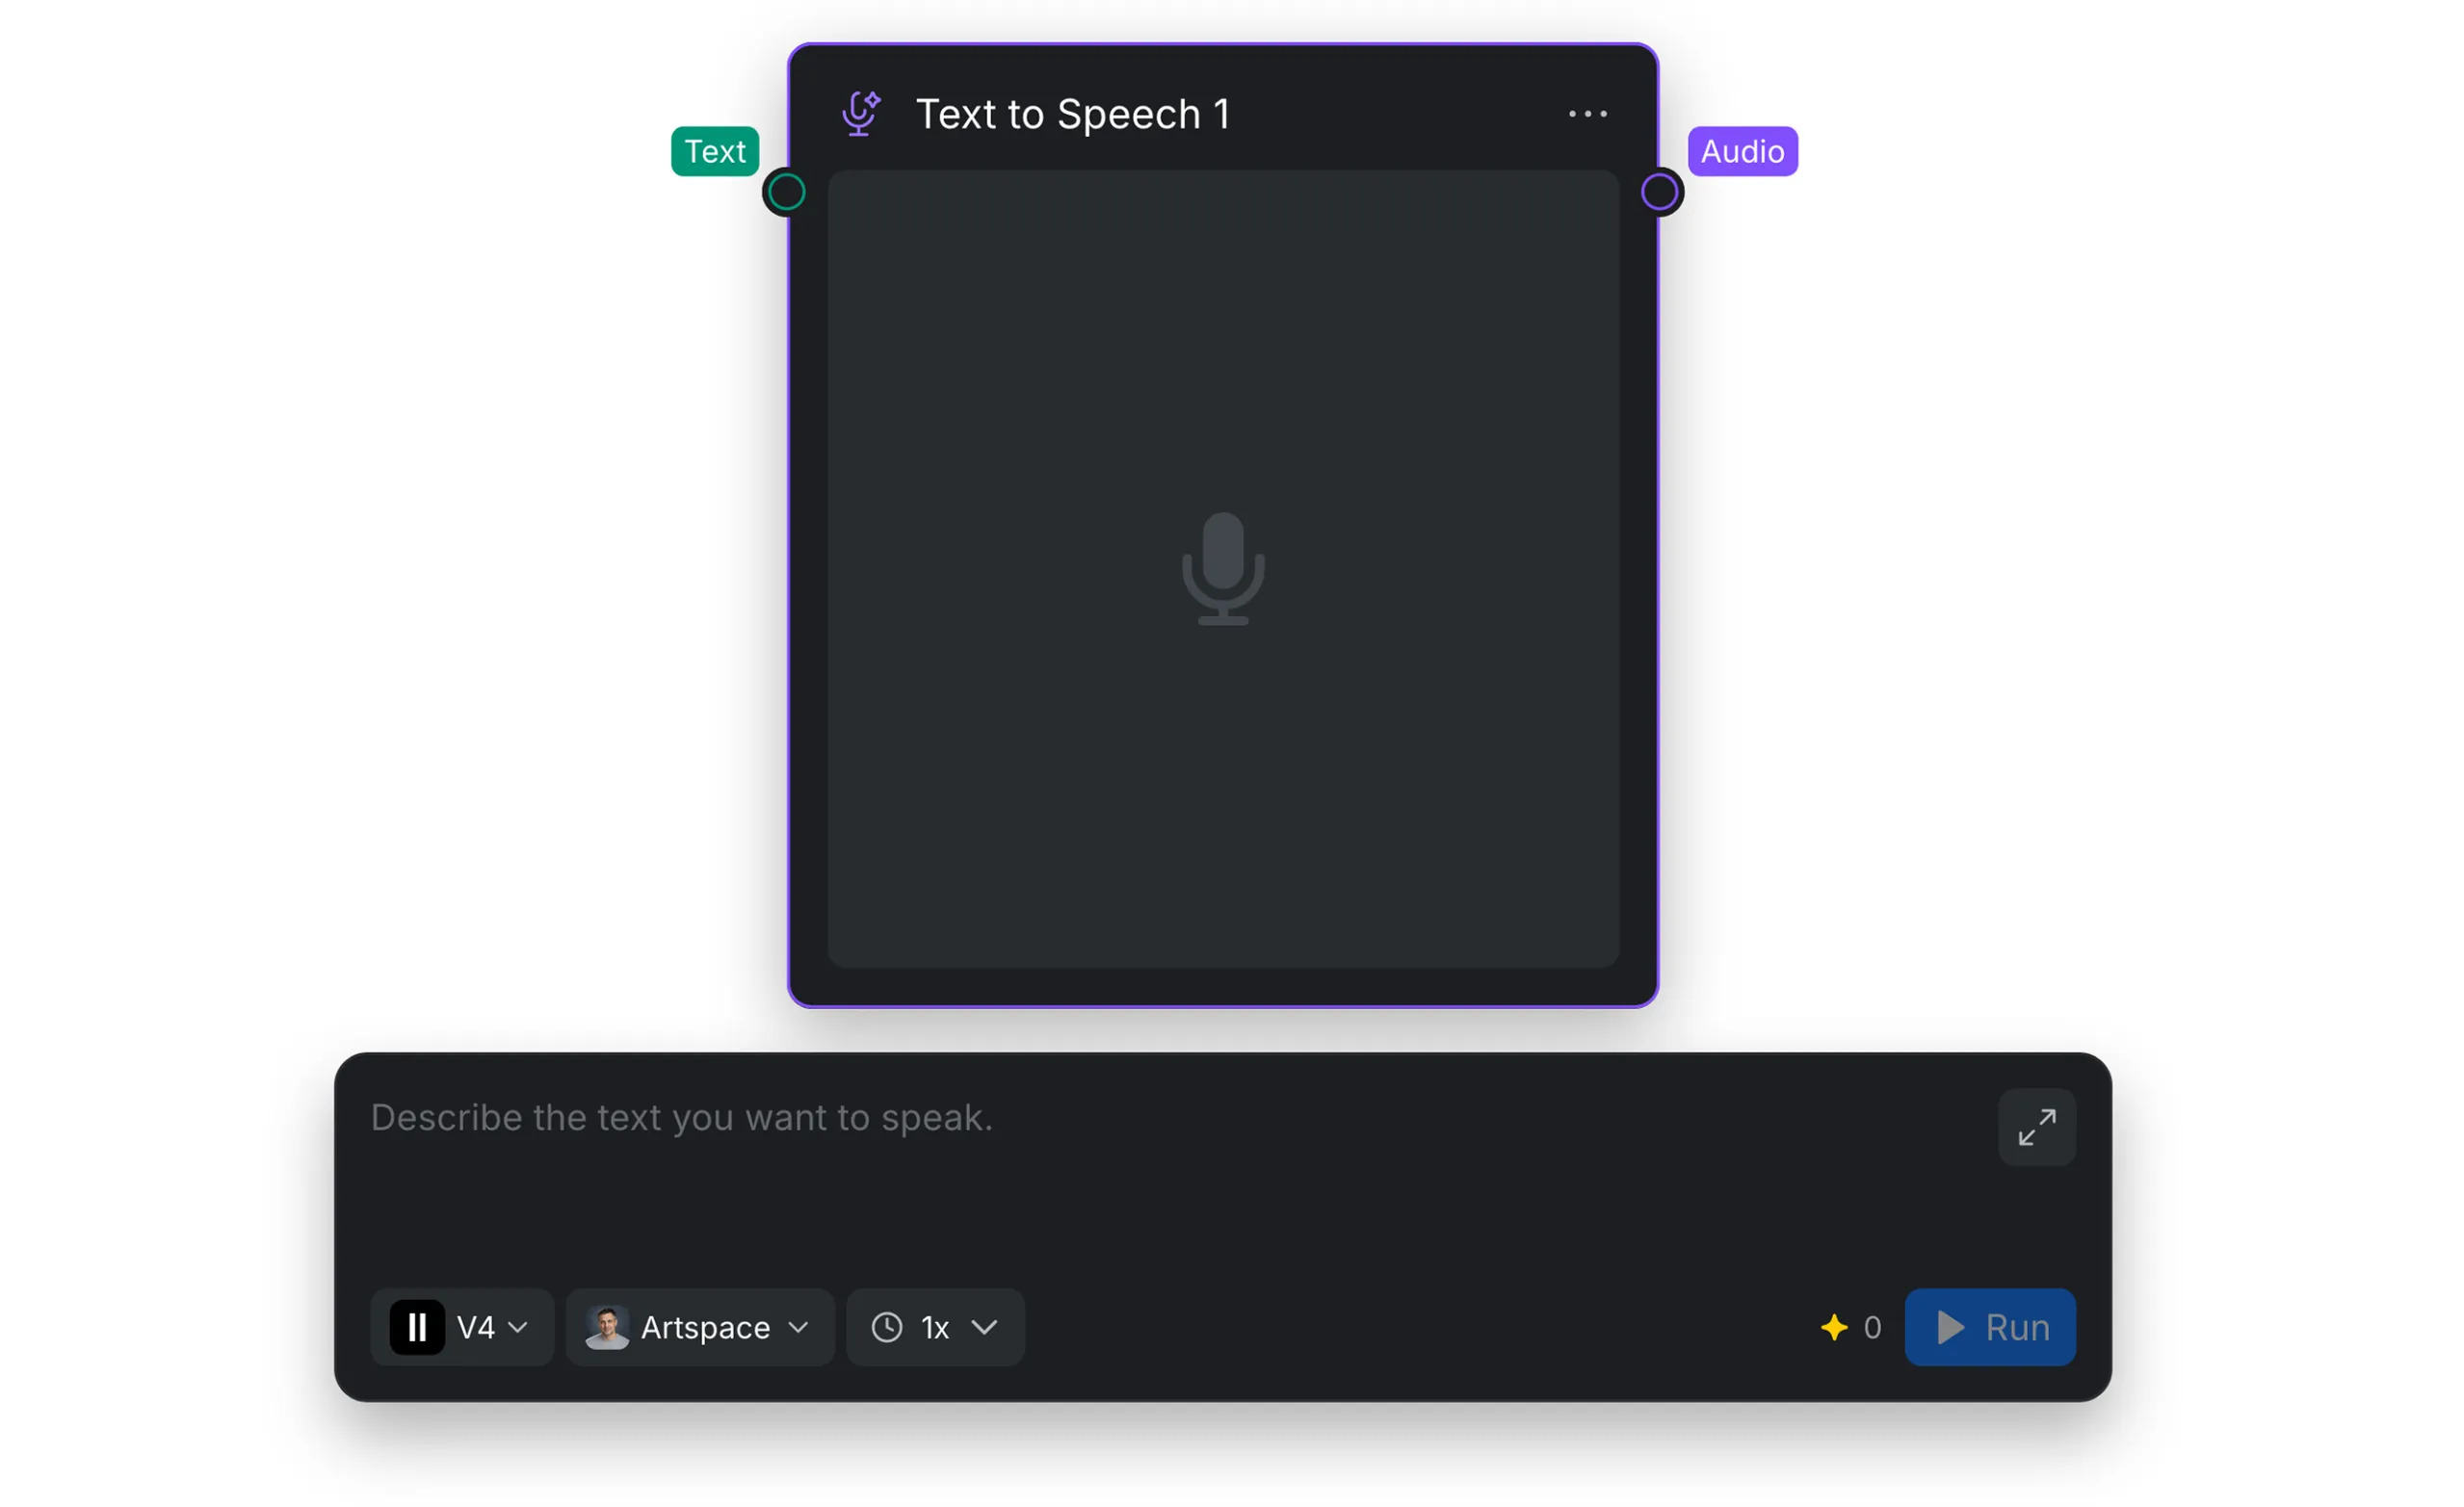
2. Input and Output
| Port | Required | What it does |
|---|---|---|
| Text | Yes | Receives the text that the node will turn into speech. You can enter text directly in the node or connect text from another node. |
| Audio | — | Outputs the generated speech as an audio file. |
3. Voice and Generation Settings
Use the controls along the bottom of the node to choose how the speech is generated:
| Setting | What it does |
|---|---|
| [Model] | Selects the speech model. ElevenLabs V4 is currently available. |
| [Voice] | Opens the voice library, where you can filter voices by language or gender. Select a voice to use it for the generated speech. Use the play control next to a voice to preview it before choosing. |
| [Speed] | Sets how quickly the script is spoken. Choose a speed from 0.5x to 2x. |
The text field includes an expand control if you want more room to write or review the text.
4. Generate Speech
- Enter the sentence or other text you want spoken, or connect text to the Text input.
- Confirm the ElevenLabs V4 model, choose and preview a voice, and set the speed.
- Click [Run] to generate the audio.
- Connect the Audio output to a compatible node to use the generated speech in your workflow.