
Image Editing and Enhancement nodes let you guide AI edits with annotations and masks, transform existing images, and improve their quality. Add visual guidance or connect an image to a node, then use its outputs in the next part of your workflow.
1. Guide AI Edits with Annotations and Masks
Annotations and masks add visual guidance directly to an image, helping an AI model understand the intended edit without relying only on repeated prompt adjustments. Use annotations to explain what should happen, masks to identify where the change should happen, or both for more precise control.
They are especially useful for:
- Replacing a background
- Adding, removing, or modifying an object
- Adjusting a character's clothing, colors, accessories, or other details
- Changing text, colors, or materials in a specific area
- Generating or retouching only part of an image
1.1 Open the Image Editor
Add or upload an image in an Image node, then click the [Edit] button above the image preview. The image editor includes [View], [Annotation], and [Mask] modes. Select the mode that matches the type of visual guidance you want to add.
1.2 Use Annotations
Select [Annotation] to draw, add arrows or shapes, and place short text or numbered markers directly on the image. Use annotations when the model needs to understand what should change or how elements should relate.
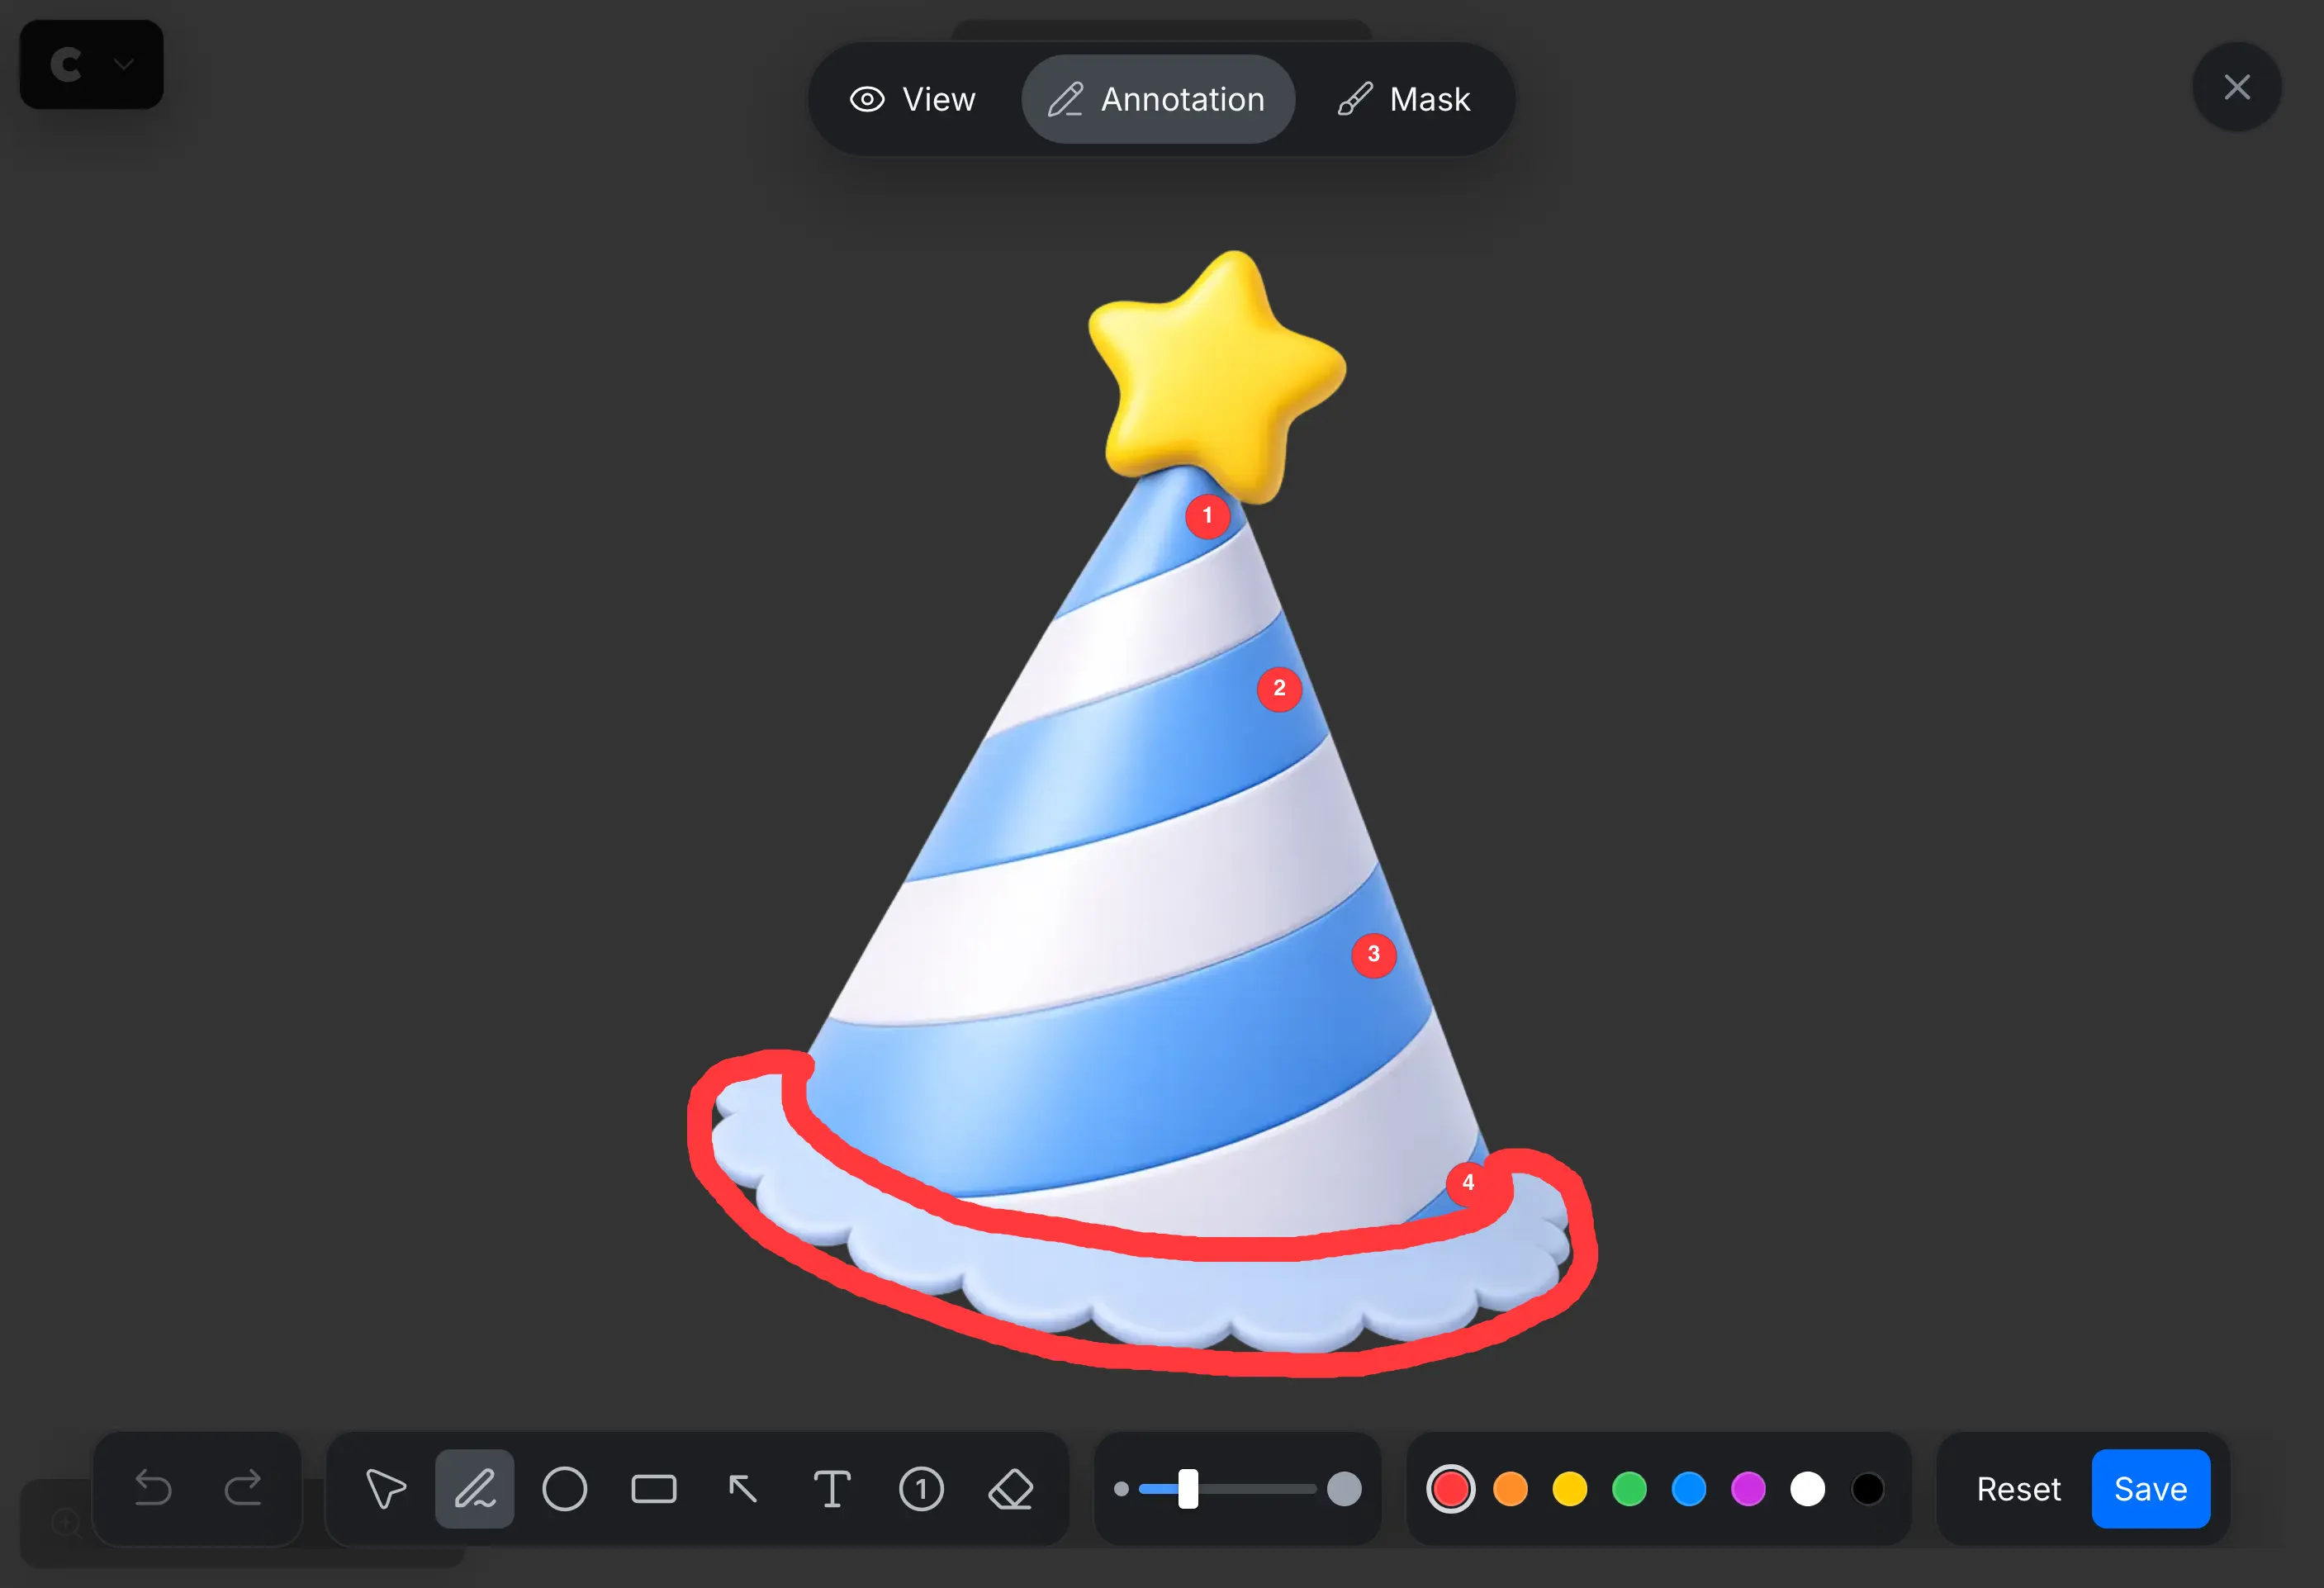
Keep each annotation short and place it close to the relevant area. Use different colors to distinguish multiple instructions, and refer to numbered markers in the text prompt when needed. Then click [Save].
The Image node provides separate "Image With Annotation" and "Image" outputs. Connect "Image With Annotation" to an AI node when the model should read the visual guidance. The example below uses annotations to identify the areas whose colors should change.
Example Prompt
Change the selected blue stripes (1, 2, 3, 4) into soft cotton candy pink gradients with subtle tonal variation.
Transform the selected bottom edge into a soft cream pink color for a smooth premium look.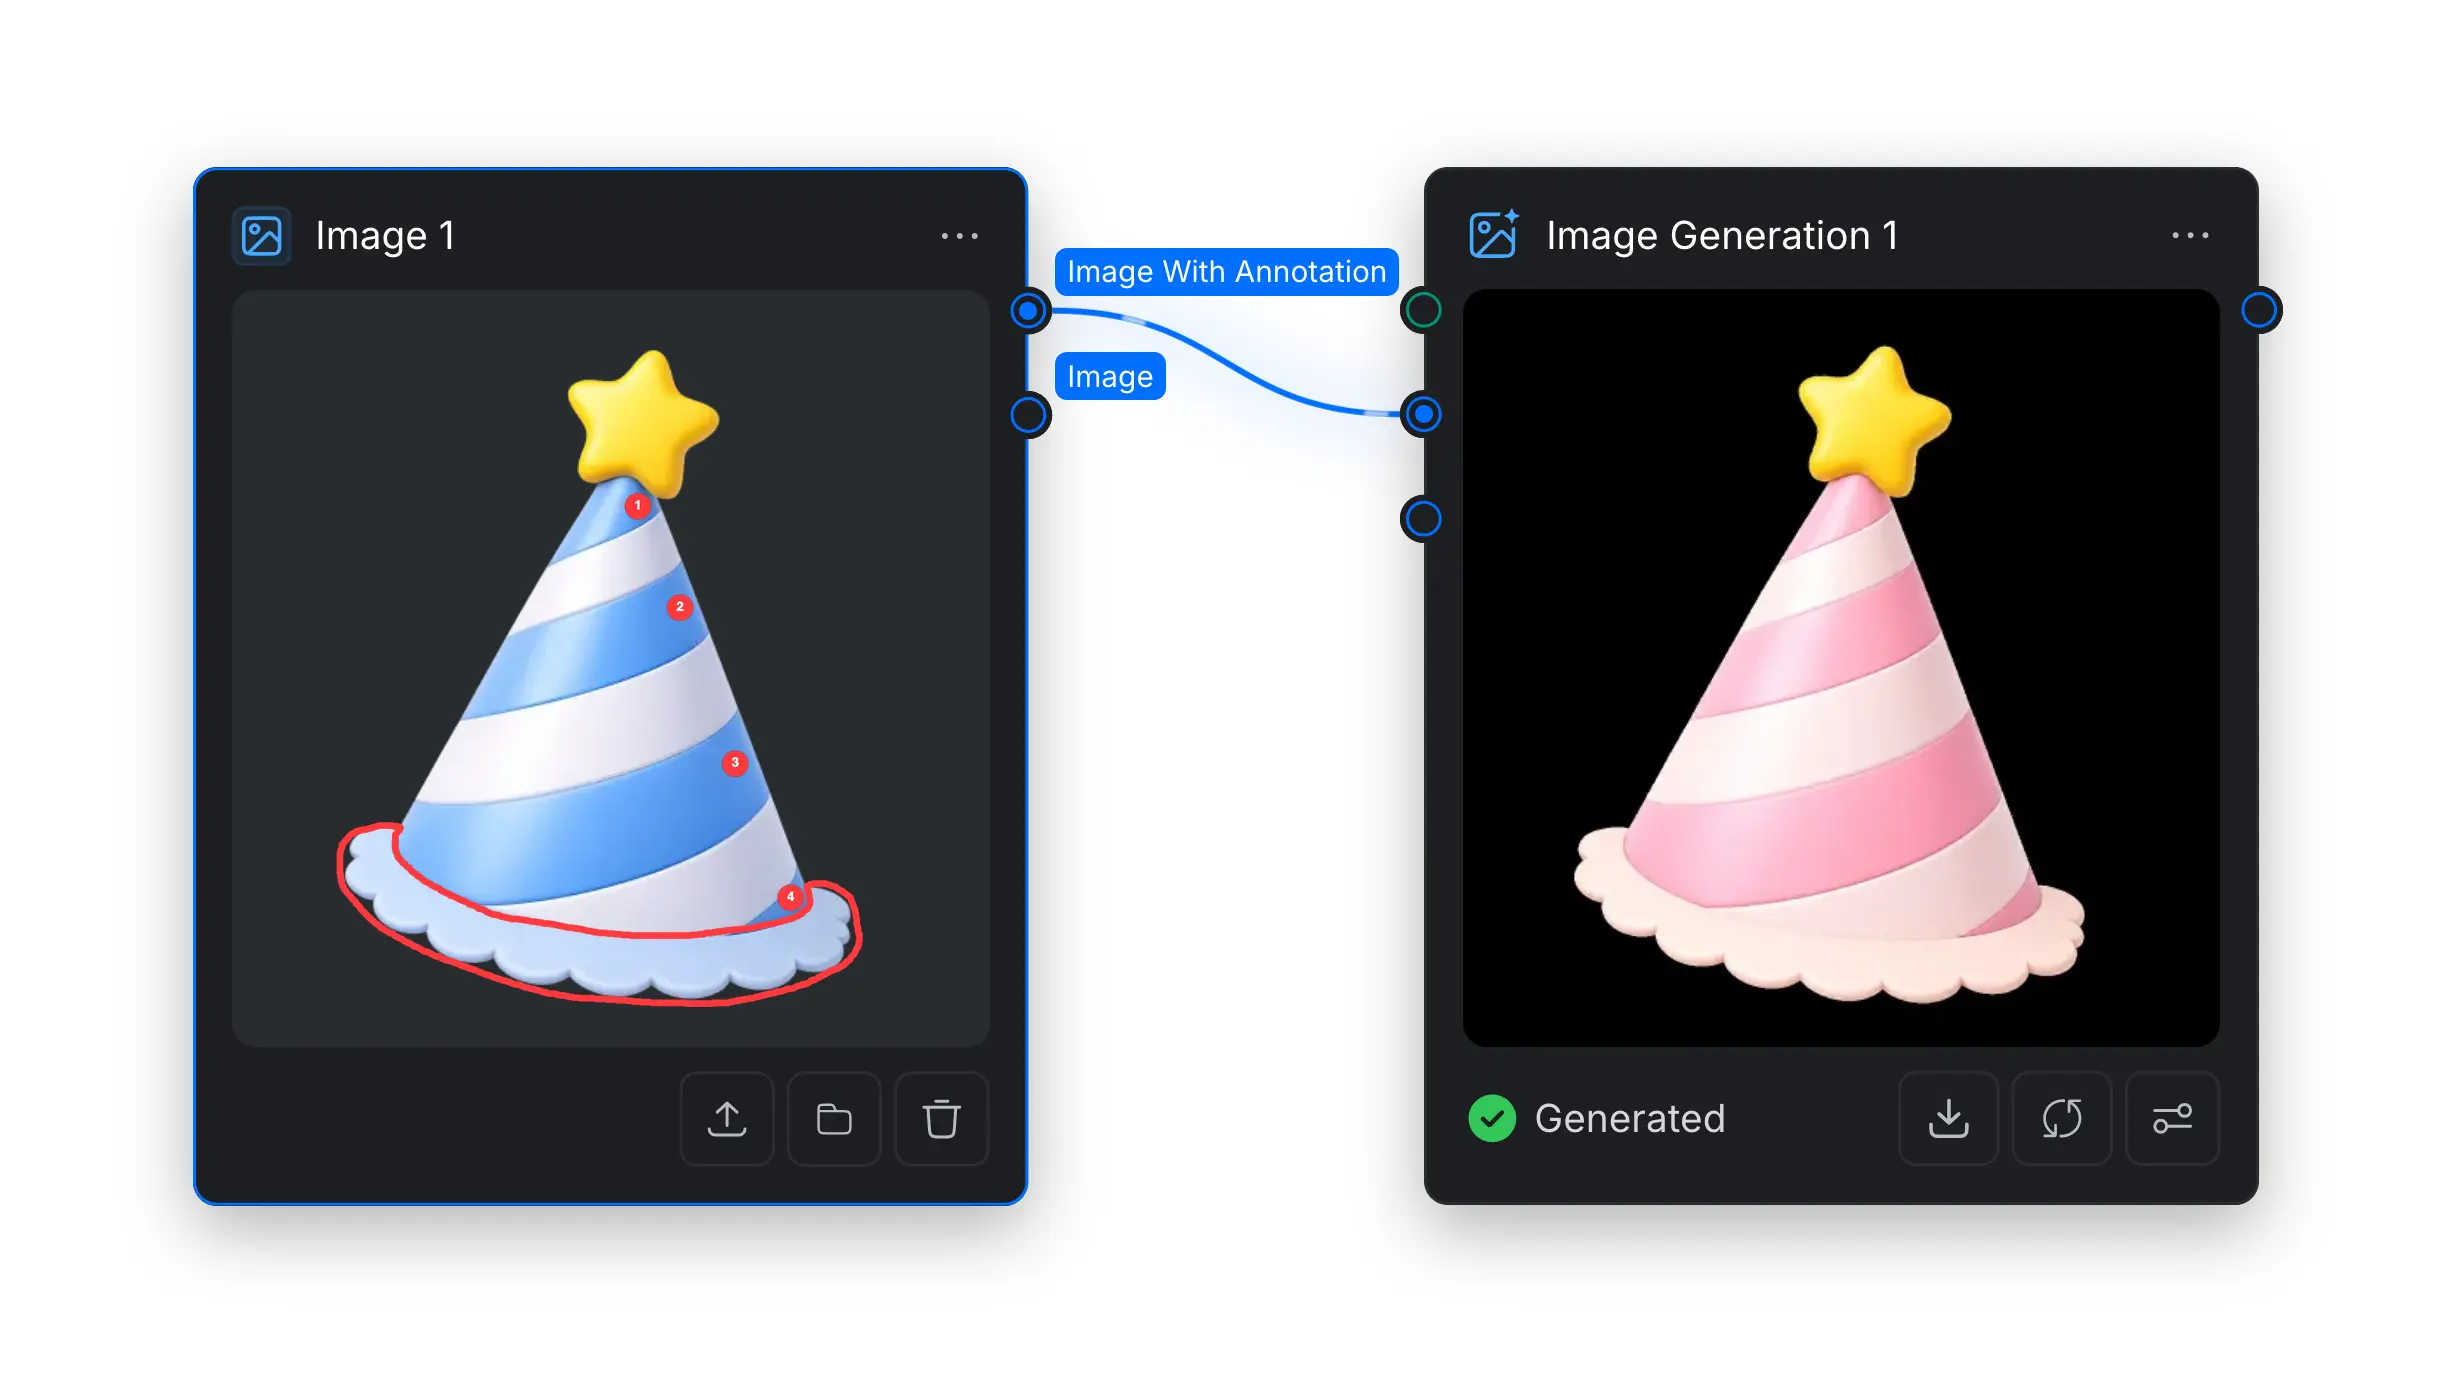
The original image remains available from the "Image" output. You can connect the annotated image and the original image separately, or use both in the same workflow when the downstream model needs the guidance and a clean reference.
1.3 Use Masks
Select [Mask], choose a brush or shape tool, and paint over the object or area you want the model to change. Adjust the brush size and edge softness as needed, then click [Save].
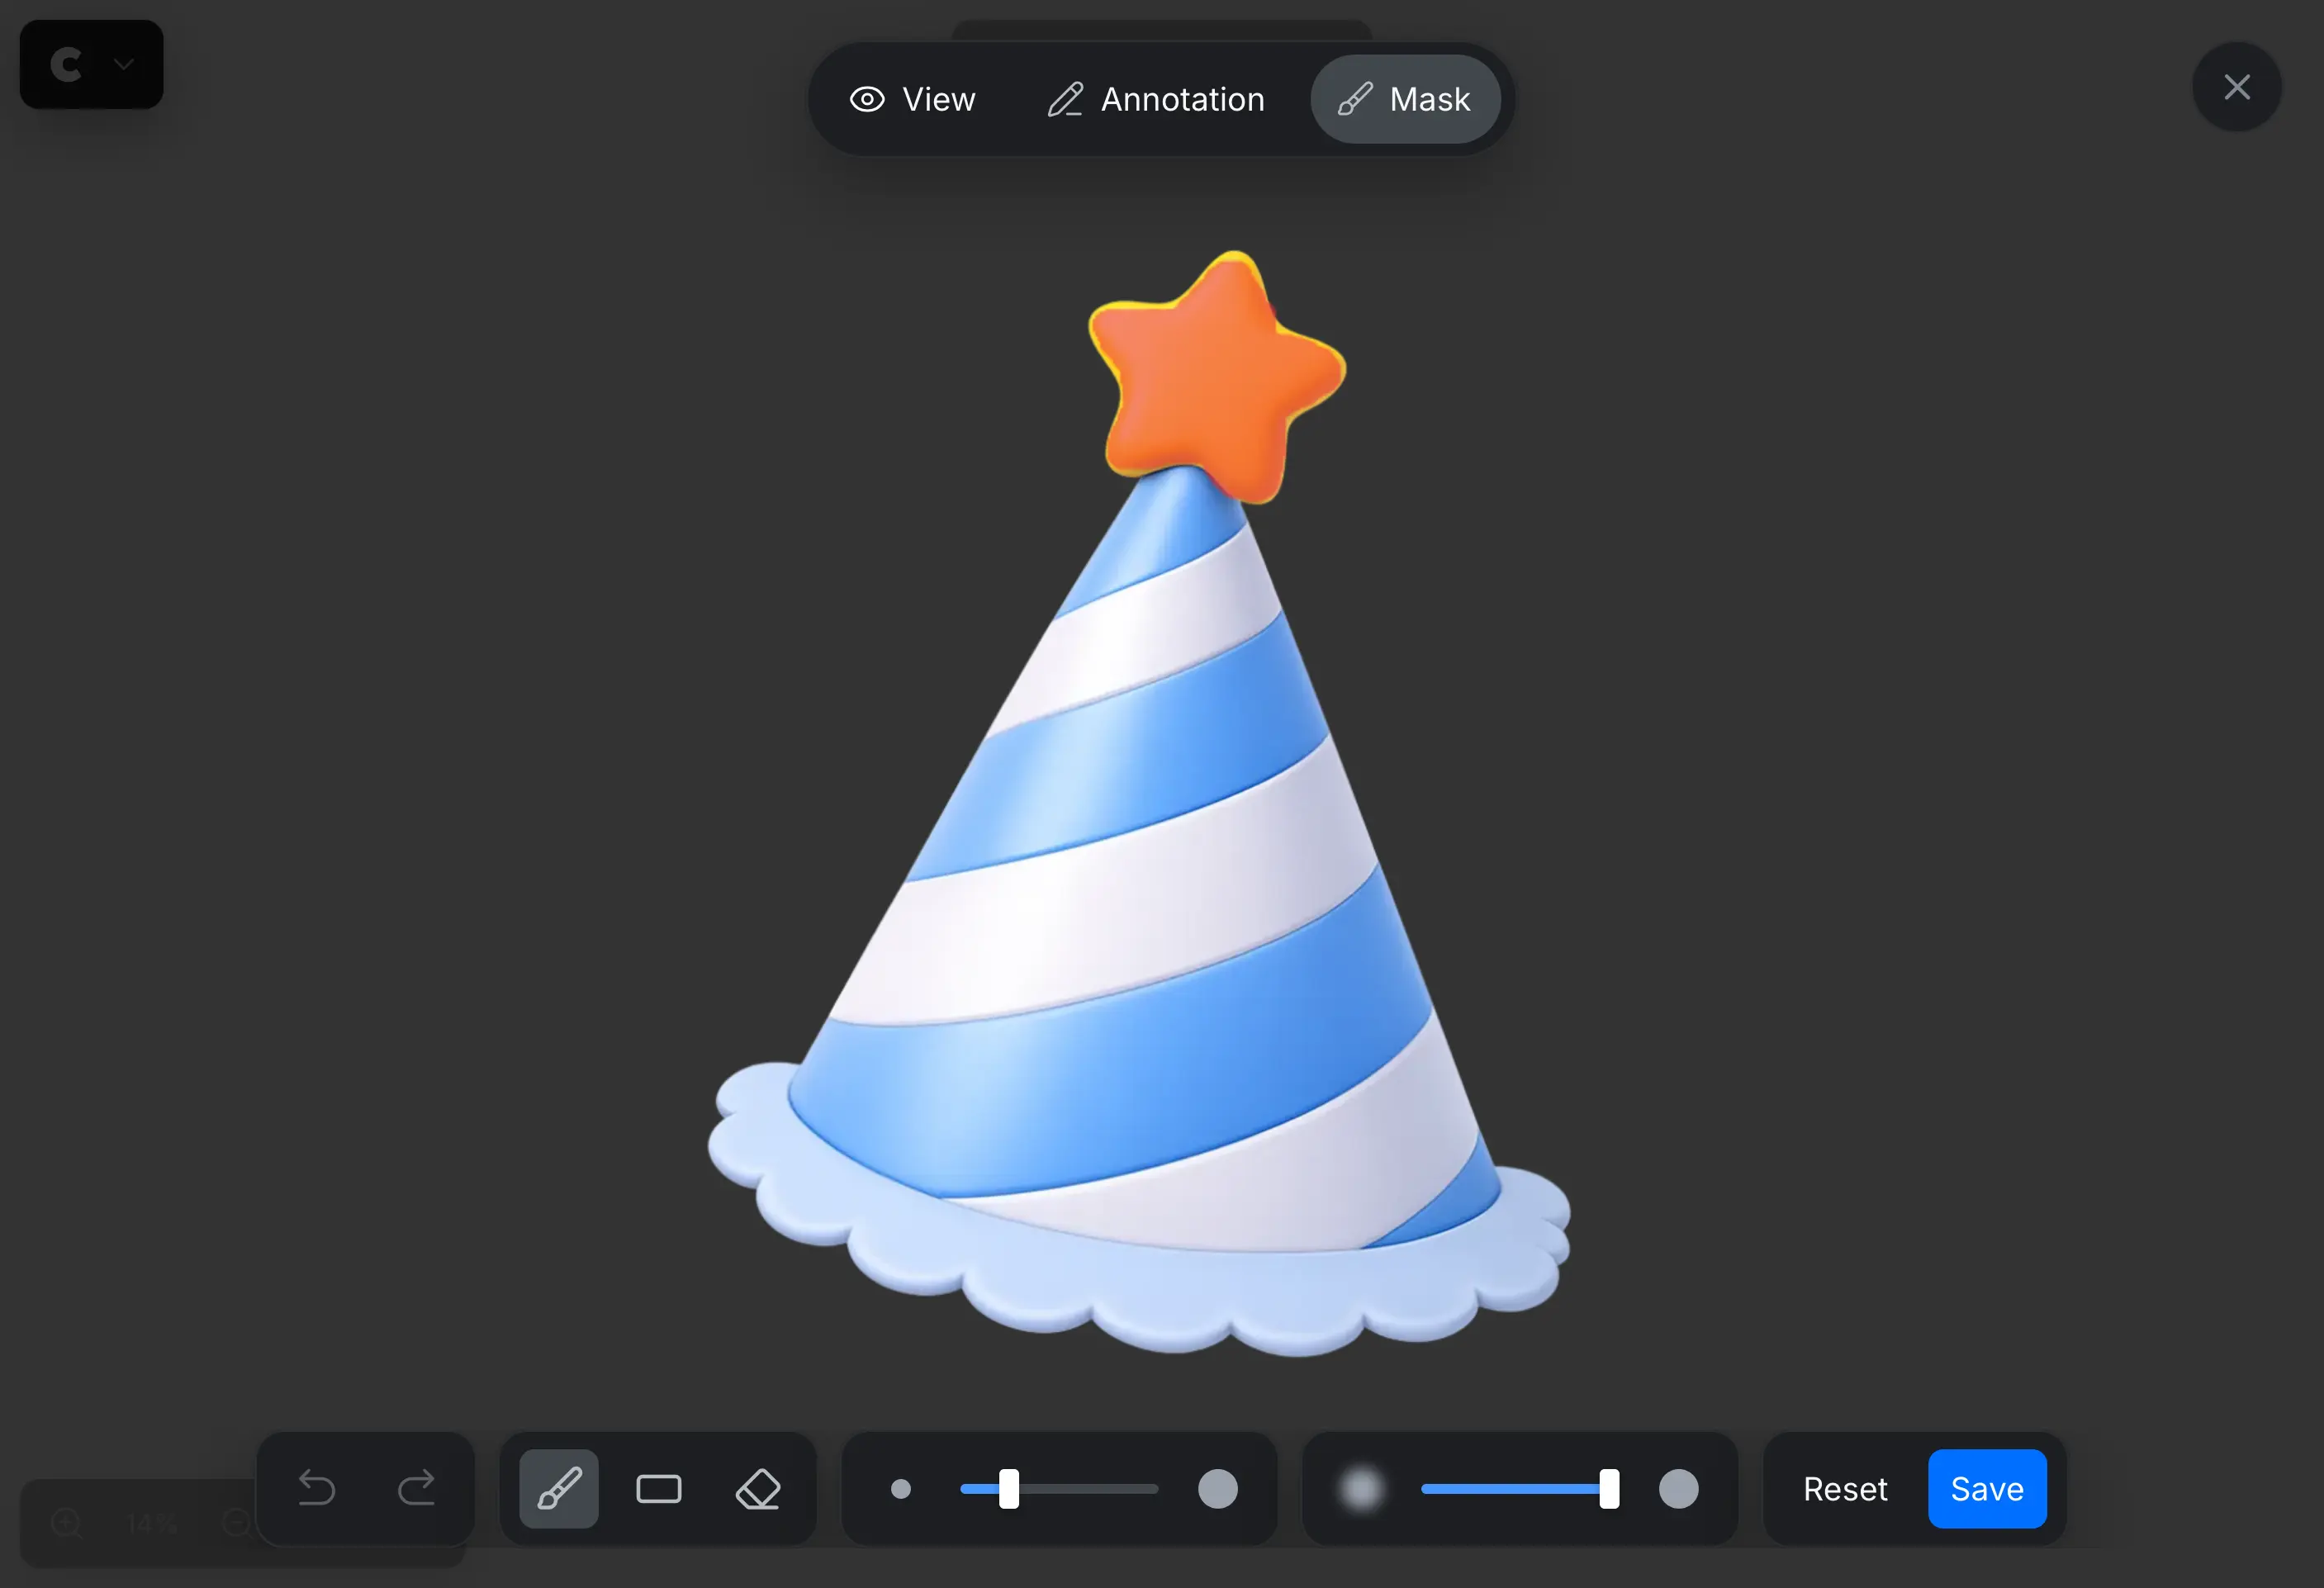
Cover the target closely without including unrelated areas. The mask focuses the edit on that area, although the exact result can vary by model. After saving, the Image node provides separate "Image With Mask", "Mask", and "Image" outputs. Connect "Image With Mask" when the AI model should see the mask over the source image. The example below uses it to focus the requested material change on the star.
Example Prompt
Replace masked star with a metallic silver star.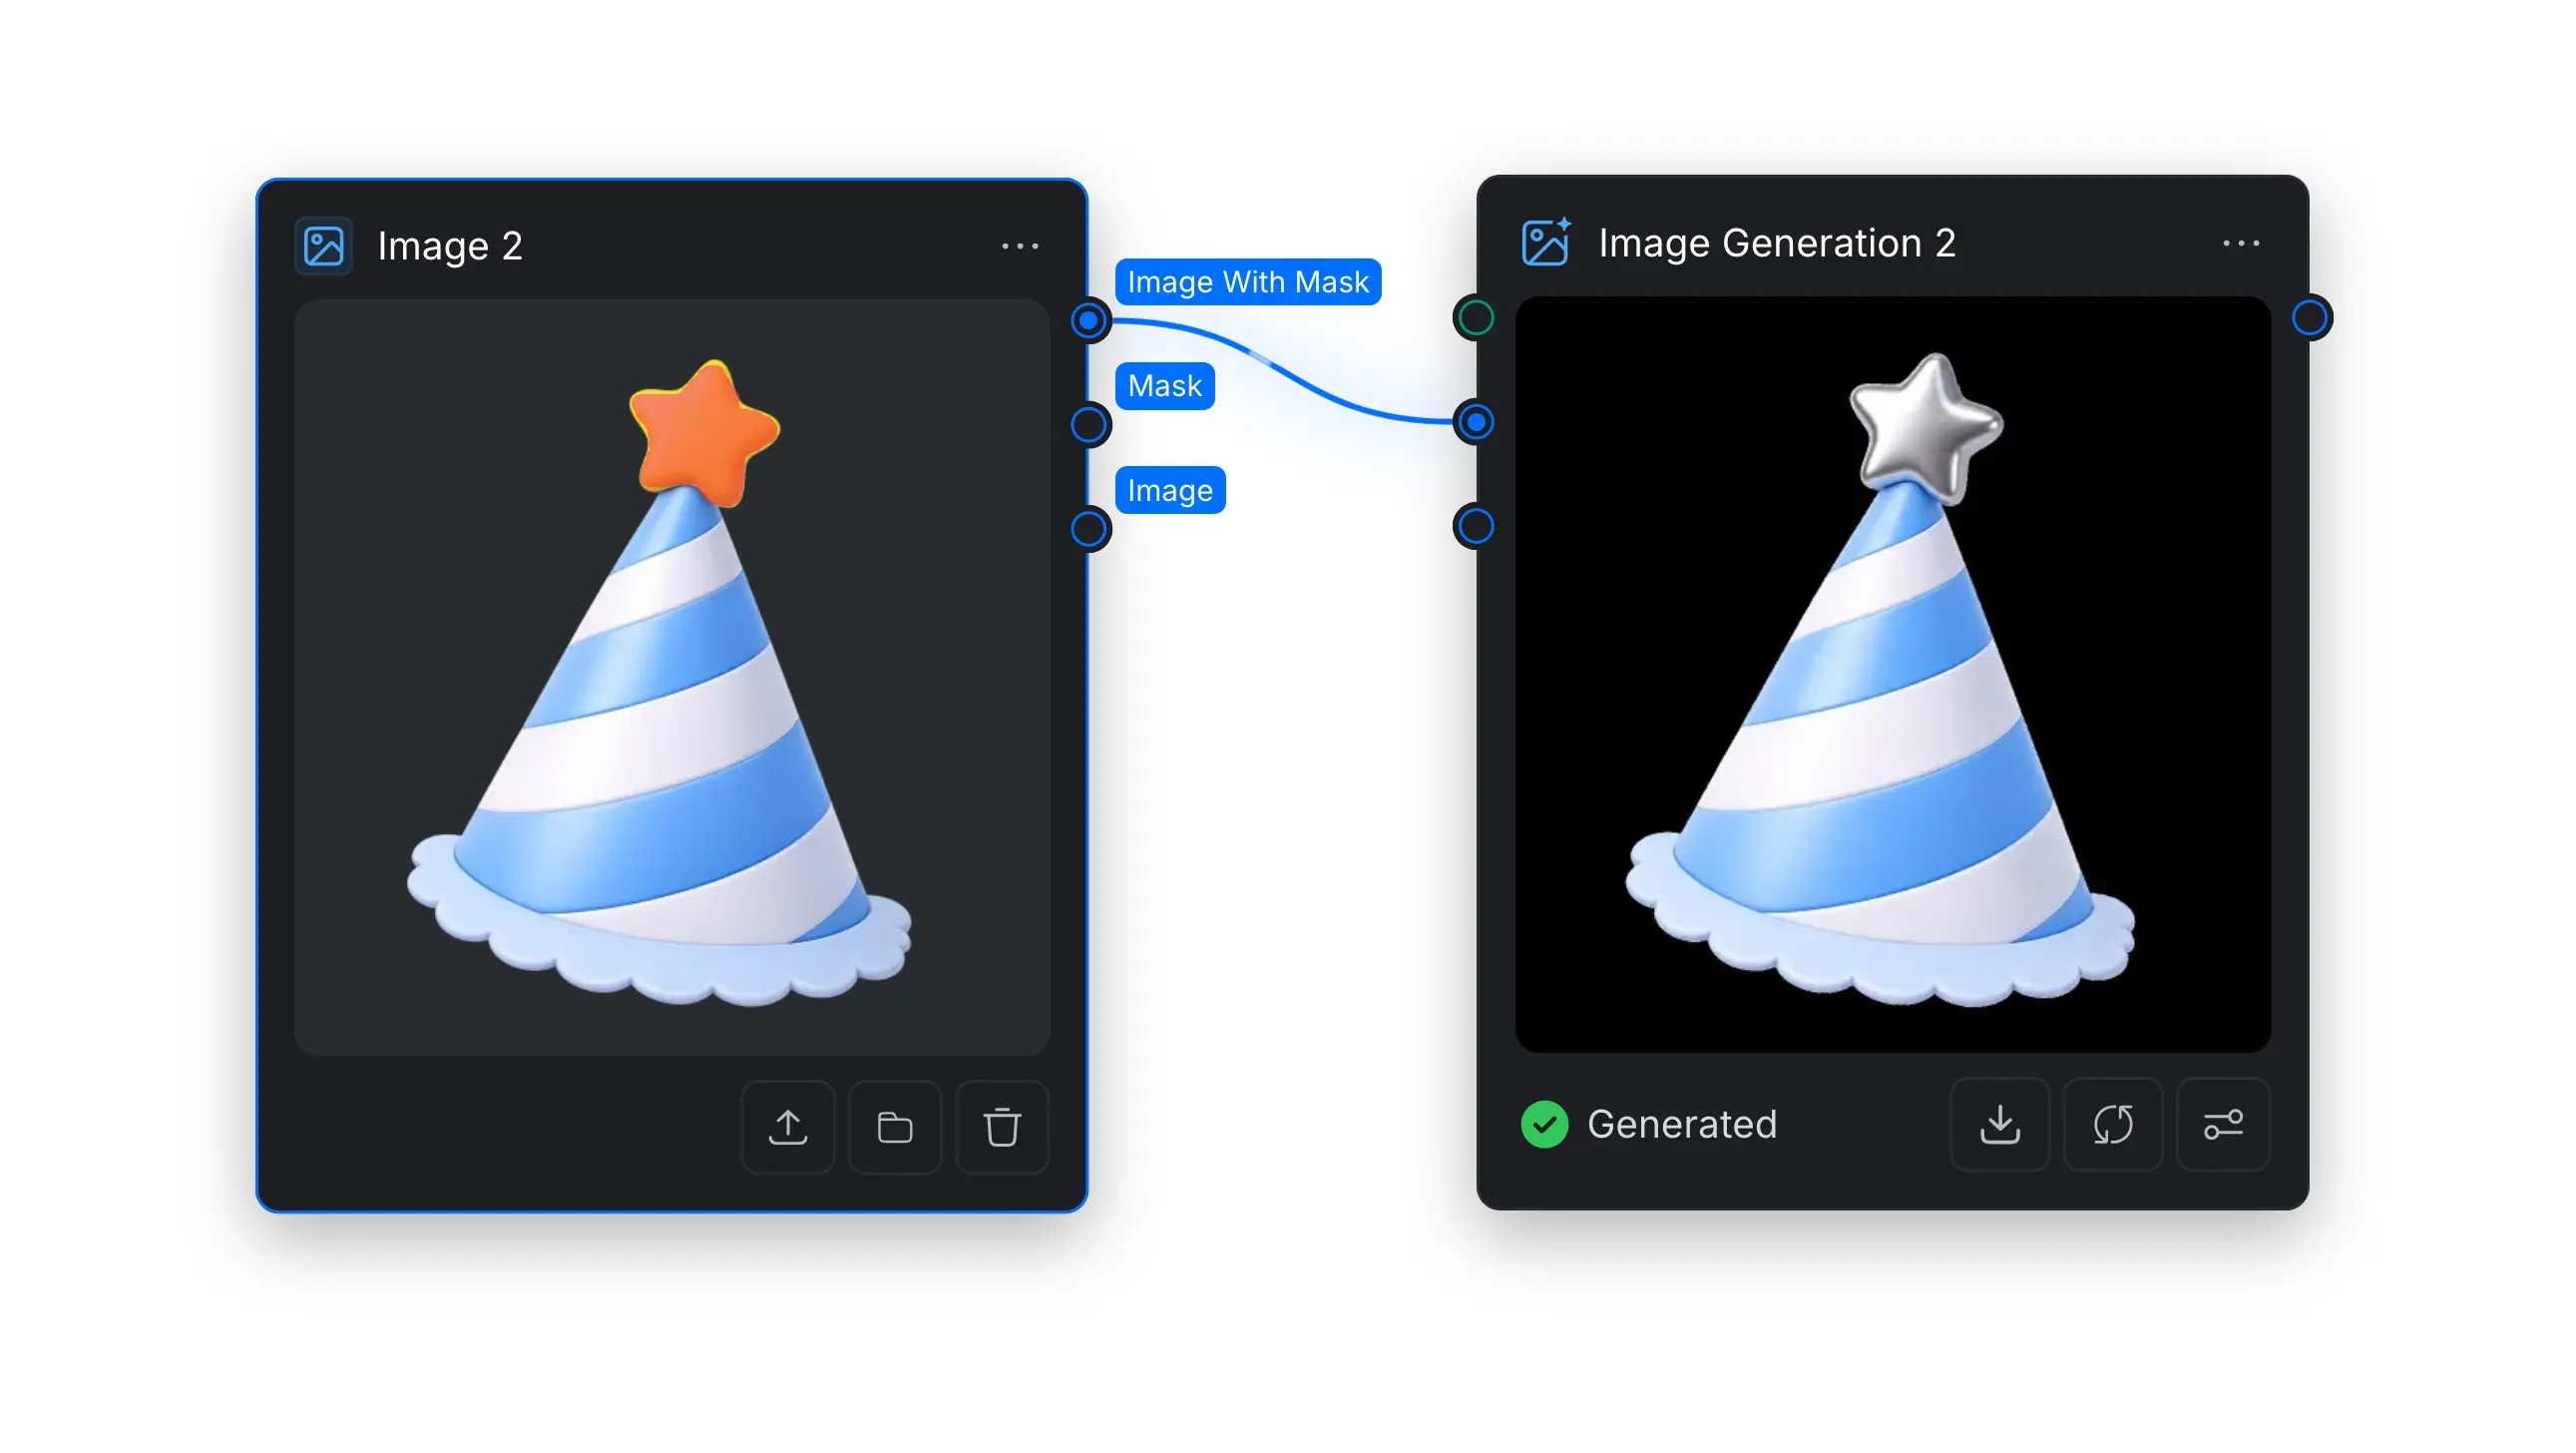
Use the "Mask" output when a downstream node needs the mask by itself, and use the "Image" output when it needs the clean original image. The image with the mask, the mask-only output, and the original image can each be connected separately or used together in the same workflow.
You can also combine a mask with annotations when the model needs both a precise edit area and a visual explanation of the intended result. Use a concise text prompt to describe the final change. For complex edits, make one focused change at a time and continue the workflow with the edited result.
2. Image Editing Nodes
Image Editing nodes change an image's composition, subject, style, or perspective.
2.1 Change Angle
The Change Angle node adjusts the perspective and framing of an input image.
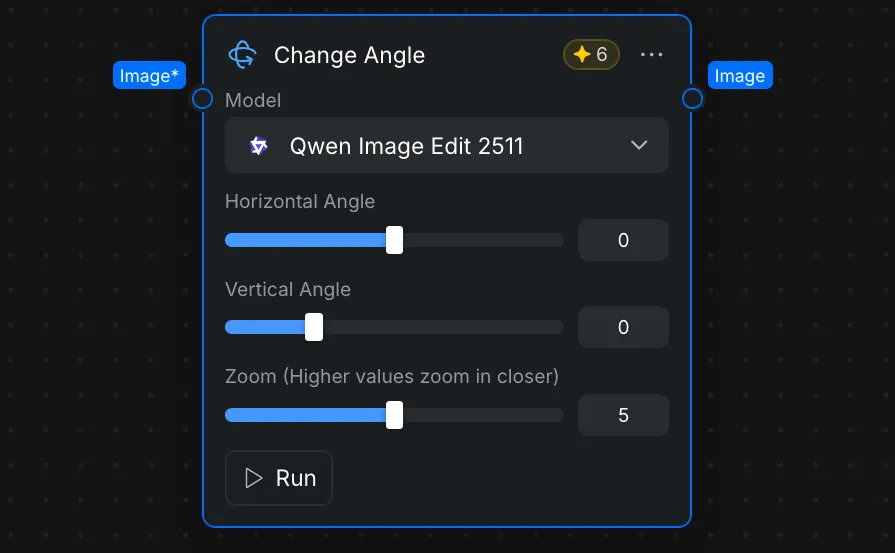
- Input and output: Connect an image to the "Image*" input port. The processed image is available from the "Image" output port.
- Model: Choose an available model, such as "Qwen Image Edit 2511", from the "Model" menu.
- Horizontal Angle: Move the slider to change the image's left-to-right viewing angle.
- Vertical Angle: Move the slider to change the image's up-and-down viewing angle.
- Zoom: Increase the value to frame the subject more closely or decrease it to show more of the scene.
After configuring the settings, click [Run] to generate the adjusted image.
2.2 AI Cutout
The AI Cutout node isolates the main subject and removes its background.
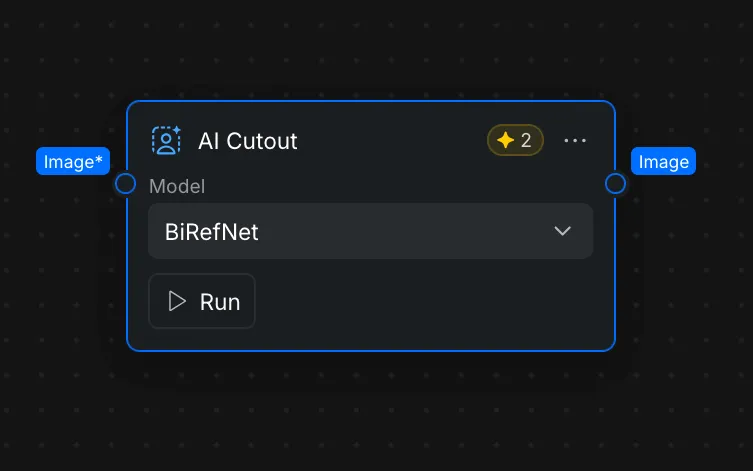
- Input and output: Connect an image to the "Image*" input port. The cutout is available from the "Image" output port.
- Model: Choose an available cutout model, such as "BiRefNet", from the "Model" menu.
For the cleanest result, use an image in which the subject is clearly separated from the background. Click [Run] to create the cutout.
2.3 Image Stylization
The Image Stylization node applies a selected visual style to an input image while retaining its main subject and composition.
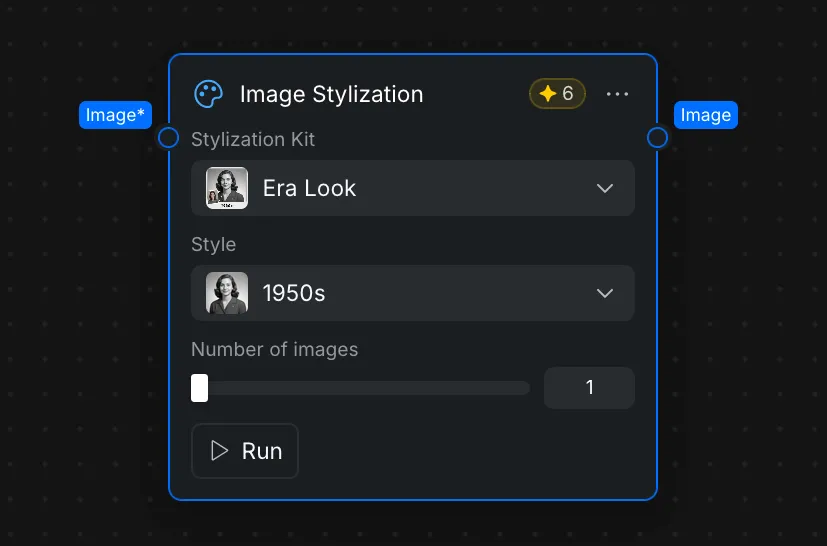
- Input and output: Connect an image to the "Image*" input port. The stylized image is available from the "Image" output port.
- Stylization Kit: Choose a style category, such as "Era Look", "Figurine Maker", "Artistic Styles", "Anime Style", or "Lighting Style".
- Style: Select a specific look from the chosen kit, such as "1950s" under "Era Look".
- Number of images: Choose how many variations to generate in one run.
Click [Run] to generate the stylized image variations.
3. Image Enhancement Nodes
Image Enhancement nodes improve the detail, clarity, or resolution of an existing image.
3.1 Enhance Portrait
The Enhance Portrait node restores and refines facial details in portrait images.
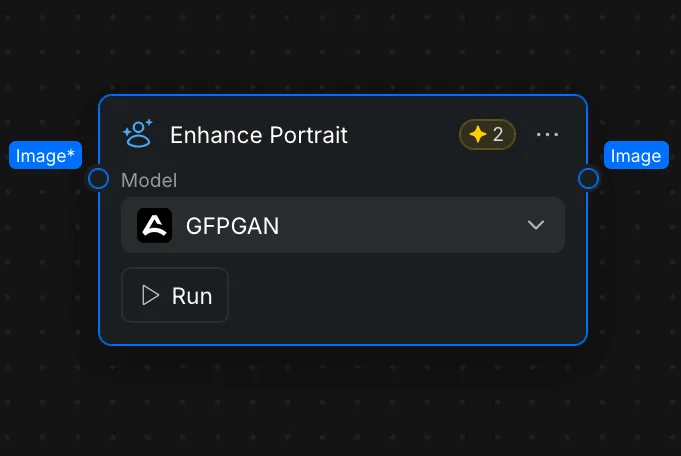
- Input and output: Connect a portrait to the "Image*" input port. The enhanced portrait is available from the "Image" output port.
- Model: Choose an available portrait-enhancement model, such as "GFPGAN", from the "Model" menu.
Click [Run] to process the portrait. For best results, use an image with a visible face that is not heavily obstructed.
3.2 Upscale Image
The Upscale Image node increases an image's resolution and reconstructs details to improve overall clarity.
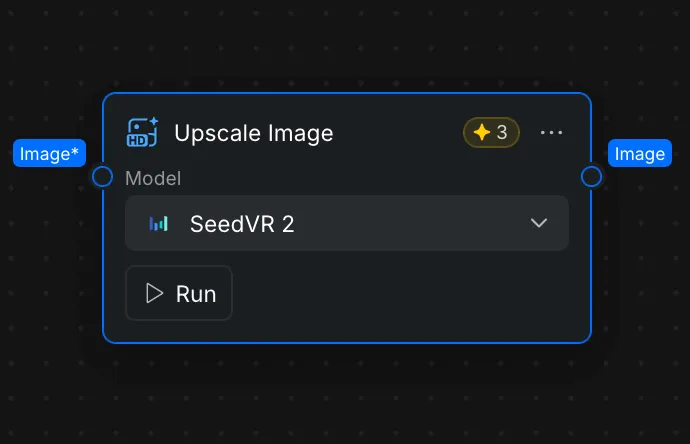
- Input and output: Connect an image to the "Image*" input port. The upscaled image is available from the "Image" output port.
- Model: Choose an available upscaling model, such as "SeedVR 2", from the "Model" menu.
Click [Run] to upscale the image. Upscaling can improve apparent detail, but it cannot fully recover information that is missing from a heavily blurred or compressed source image.