
Overview
Image Editing and Image Enhancement nodes allow you to process existing images to achieve specific visual results. Rather than generating from scratch, these nodes accept an incoming image and apply targeted transformations, extractions, or quality improvements before passing the new image further down your workflow.
Image Editing Nodes
Image Editing nodes are used to alter the content, style, or perspective of your images.
Change Angle
The Change Angle node allows you to manipulate the perspective and zoom of an input image.
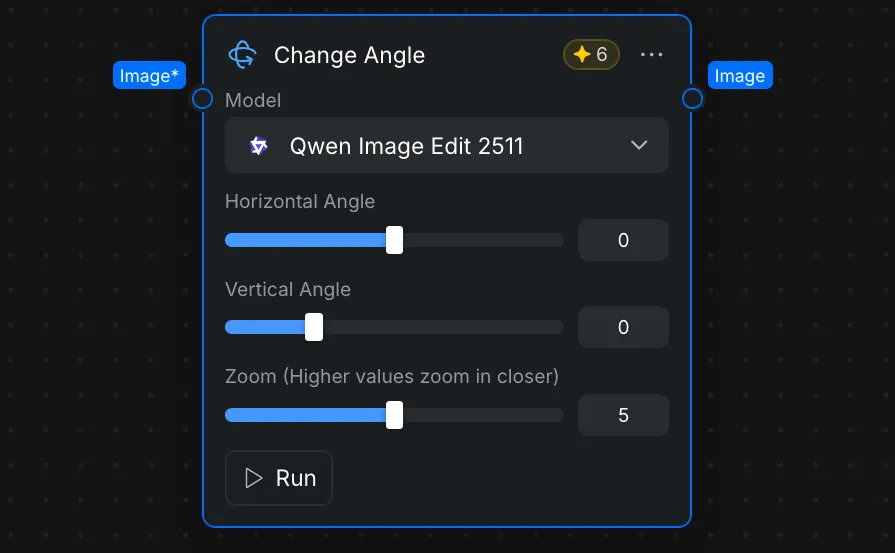
- Input/Output: The node requires an "Image*" input connection on the Node Panel and provides an "Image" output connection.
- Model Selection: In the Node Settings, you can select the specific model used for the transformation, such as "Qwen Image Edit 2511".
- Angle Adjustments: The Node Settings feature dedicated sliders to adjust the "Horizontal Angle" and "Vertical Angle" of the image.
- Zoom Control: A "Zoom" slider is available in the Node Settings, where higher values zoom in closer on the image.
AI Cutout
The AI Cutout node is used to isolate subjects from their backgrounds.
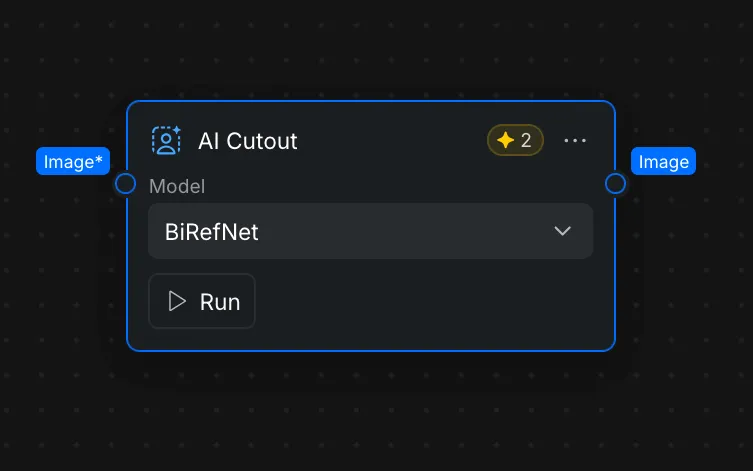
- Input/Output: This node accepts an "Image*" input and provides an "Image" output.
- Model Selection: You can choose the cutout model from a dropdown in the Node Settings, such as "BiRefNet".
Image Stylization
The Image Stylization node applies artistic filters and thematic transformations to your images.
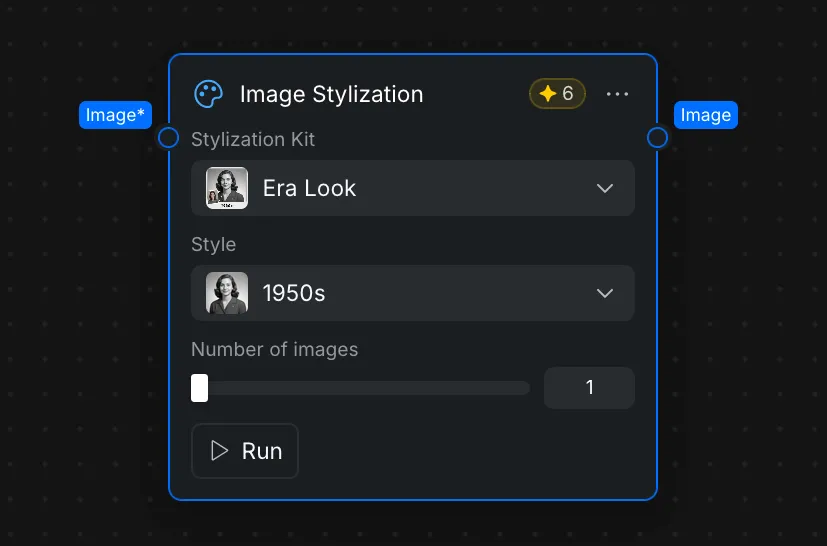
- Input/Output: Connect your source image to the "Image*" input port and route the result through the "Image" output port on the Node Panel.
- Stylization Kits: You can open the "Stylization Kit" dropdown in the Node Settings to choose a broad category. Options include "Era Look", "Figurine Maker", "Halloween", "Artistic Styles", "Anime Style", "Lighting Style", "HairSwap Women", and "HairSwap Men".
- Specific Styles: Depending on your chosen Stylization Kit, a secondary "Style" dropdown in the Node Settings allows you to pick a specific look, such as the "1950s" style within the "Era Look" kit.
- Batch Generation: You can use the "Number of images" slider in the Node Settings to generate multiple stylized variations at once.
Image Enhancement Nodes
Image Enhancement nodes focus on improving the quality, clarity, or resolution of an existing image.
Enhance Portrait
The Enhance Portrait node is specifically designed to improve and refine facial details in portrait images.
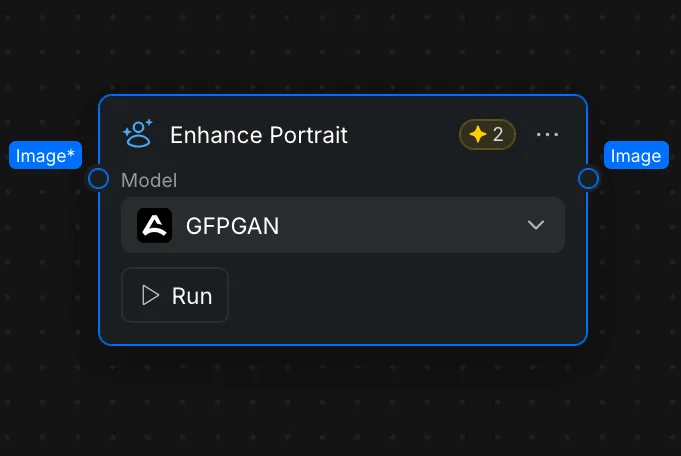
- Input/Output: The Node Panel takes an "Image*" input and outputs the refined asset via the "Image" port.
- Model Selection: You can select specialized enhancement models, such as "GFPGAN", from the Model dropdown menu in the Node Settings.
Upscale Image
The Upscale Image node is used to increase the overall resolution and clarity of your image without losing detail.
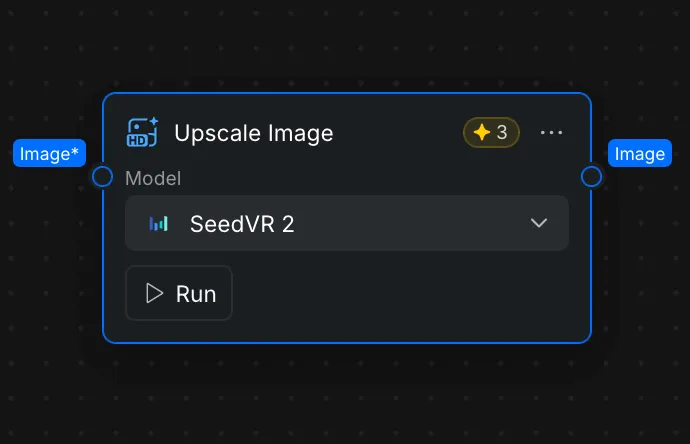
- Input/Output: The node requires an "Image*" input connection and provides an "Image" output connection.
- Model Selection: You can choose your preferred upscaling model from the dropdown menu in the Node Settings, such as "SeedVR 2".
- Execution: Once your image is connected and your model is selected, click the "Run" button in the Node Settings to process the upscale.